Hiking in the Winter: Best Gear to Pack
Hiking in winter has its challenges and requires a bit more preparation than a warm spring or summer hike. Not only will you need to plan for weather changes and changing temperatures, but you will need to prepare for trail conditions that could include ice, snow, and frozen ground. In some places, winter may just mean cold temperatures and not necessarily snow, so this guide will cover both types of hiking and what gear you will need to hit the trail on your next winter hike.
Psst: Please be sure to follow all local regulations, social distance, and wear a mask to keep yourself and others safe. Also: this post contains affiliate links. If you make a purchase through them, we may receive a small commission (for which we are deeply grateful) at no cost to you.
Getting Prepared
There are a few things to do to prepare for your hike before you even decide on your clothing:
- Pick your trail and download your trail maps. I use AllTrails, and I always like to have an offline trail map in case I’m somewhere without service. I also like to study the topographic map to have an idea of where I am going and what other trails exist in the area.
- Decide on when you are going and keep an eye on the weather beforehand. Try to be flexible and be okay with changing plans if the weather does not cooperate (which is common with winter hiking).
- If you are hiking on National Forest land it is always advisable to call the local ranger station and check the day-of conditions. Daily conditions are sometimes available on Facebook as well.
Winter Hiking Safety
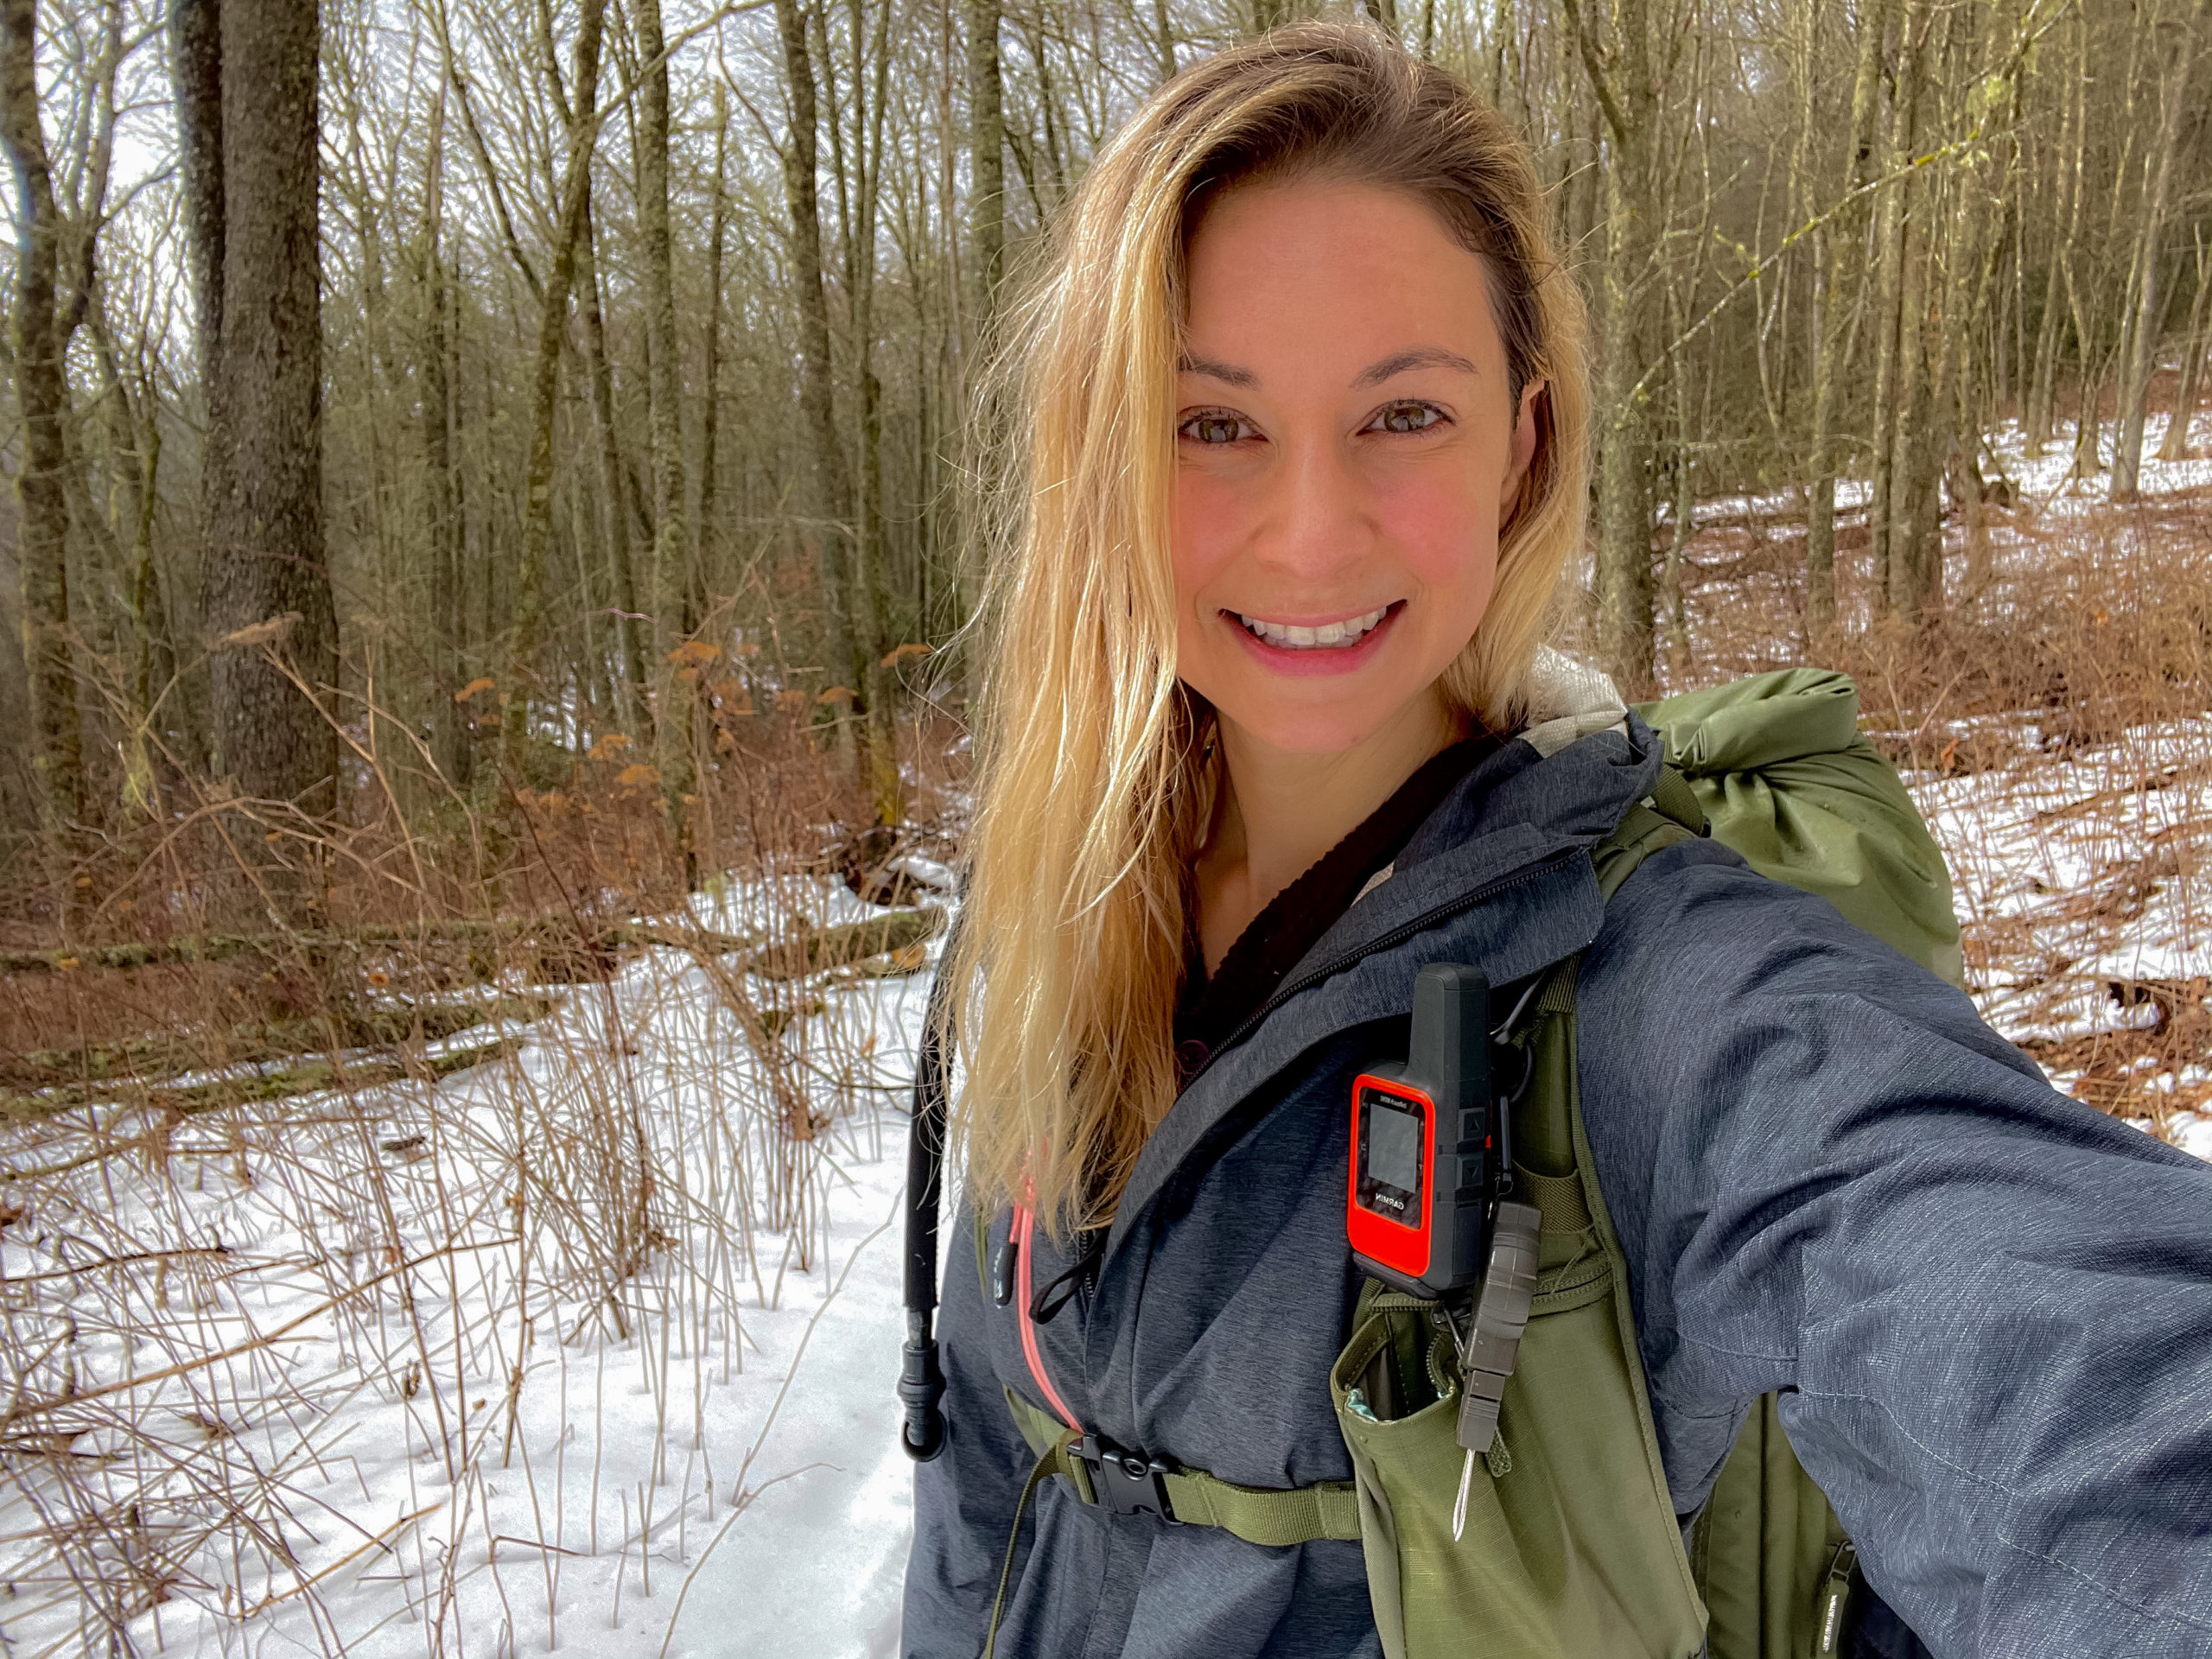
Hiking and camping in the winter brings a new element of danger to be ready for. Besides the usual hazards, you must also be prepared for potential extreme cold temperatures, ice and snow, and in some cases, avalanches. As mentioned, being prepared before you set out is the first step. If temperature and visibility conditions seem too poor, consider postponing your hike altogether. Sometimes, it’s not worth the risk.
During the winter months especially, be prepared for the weather to take a turn. It’s not uncommon for conditions to rapidly change, which means you can be stuck with much colder temperatures or more snow than anticipated. If you plan on hiking alone, always make sure someone knows your plan like where you will be hiking and how long you anticipate being gone.
A big part of being prepared for winter hiking is making sure you have the right gear to support you on your hike. That means having proper clothes, jacket, and boots. See the section below for my full list of hiking clothes and gear to take with you.
Hike With the Sun
Unlike hiking in the summer months where you try to avoid the sun, hiking with the sun can help keep you warm during the winter months. Figure out when the sun rises and sets, and plan your hike around when the sun will be at its highest peak. This will provide you warmth and light. Since temperatures can drop significantly as the sun begins to set, make sure you finish your hike before it gets too dark.
Avalanche Safety
If you plan on hiking in mountain areas, you must also be prepared for the possibility of avalanches during the winter months. Make sure you pack avalanche safety equipment like a shovel, a beacon, and a probe if you are hiking in high-risk areas. Always check the avalanche forecast of the area you plan to hike in for updates before you head out.
Know the Signs and Symptoms of Hypothermia
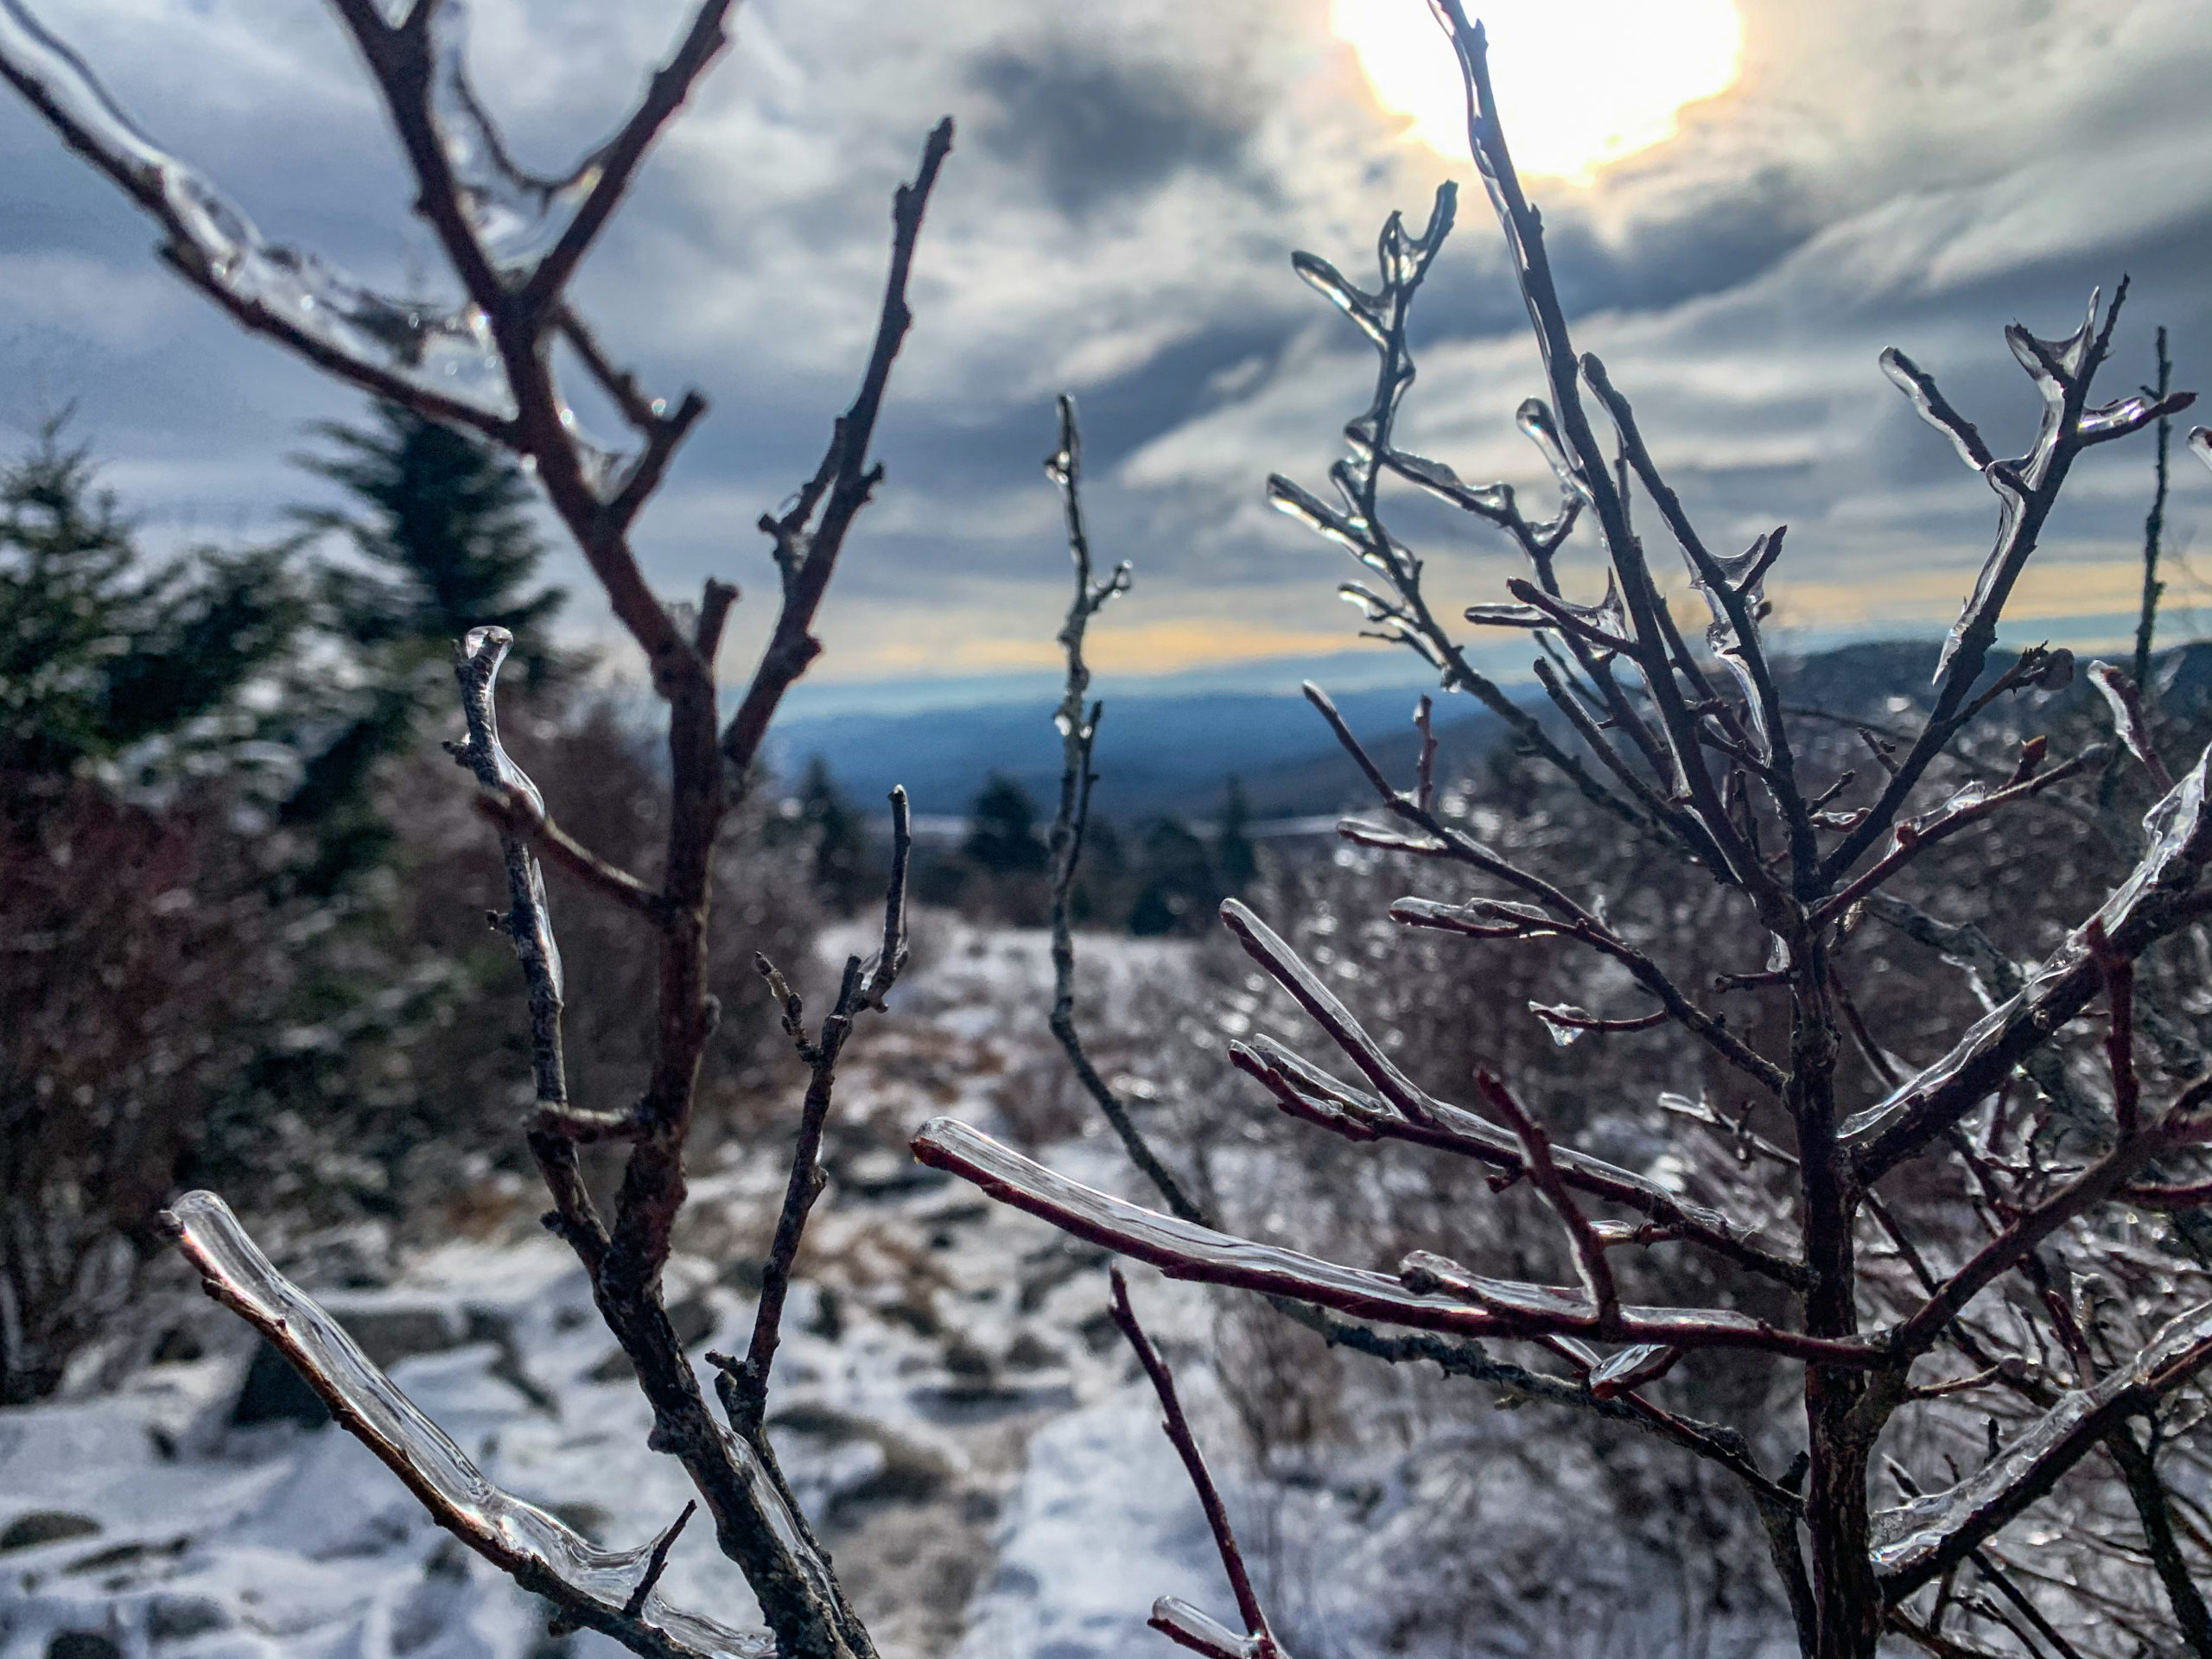
Prolonged exposure to extremely cold temperatures can lead to hypothermia. If you plan on hiking for an extended period of time in the cold, it’s important to know the signs that your body temperature may be dropping too fast. Shivering, slurred speech slowed breathing, and a weakened pulse are all signs that your body may be experiencing hypothermia. Since the symptoms occur gradually, many people don’t realize they are experiencing hypothermia until it’s too late.
To prevent hypothermia, make sure no parts of your body are exposed to the cold. Try to stay as dry as possible and avoid sweating, as the mix of water and cold can speed up the rate at which you lose body heat. Make sure you are prepared with the proper clothing and accessories, which I’ve shared below.
What to Wear
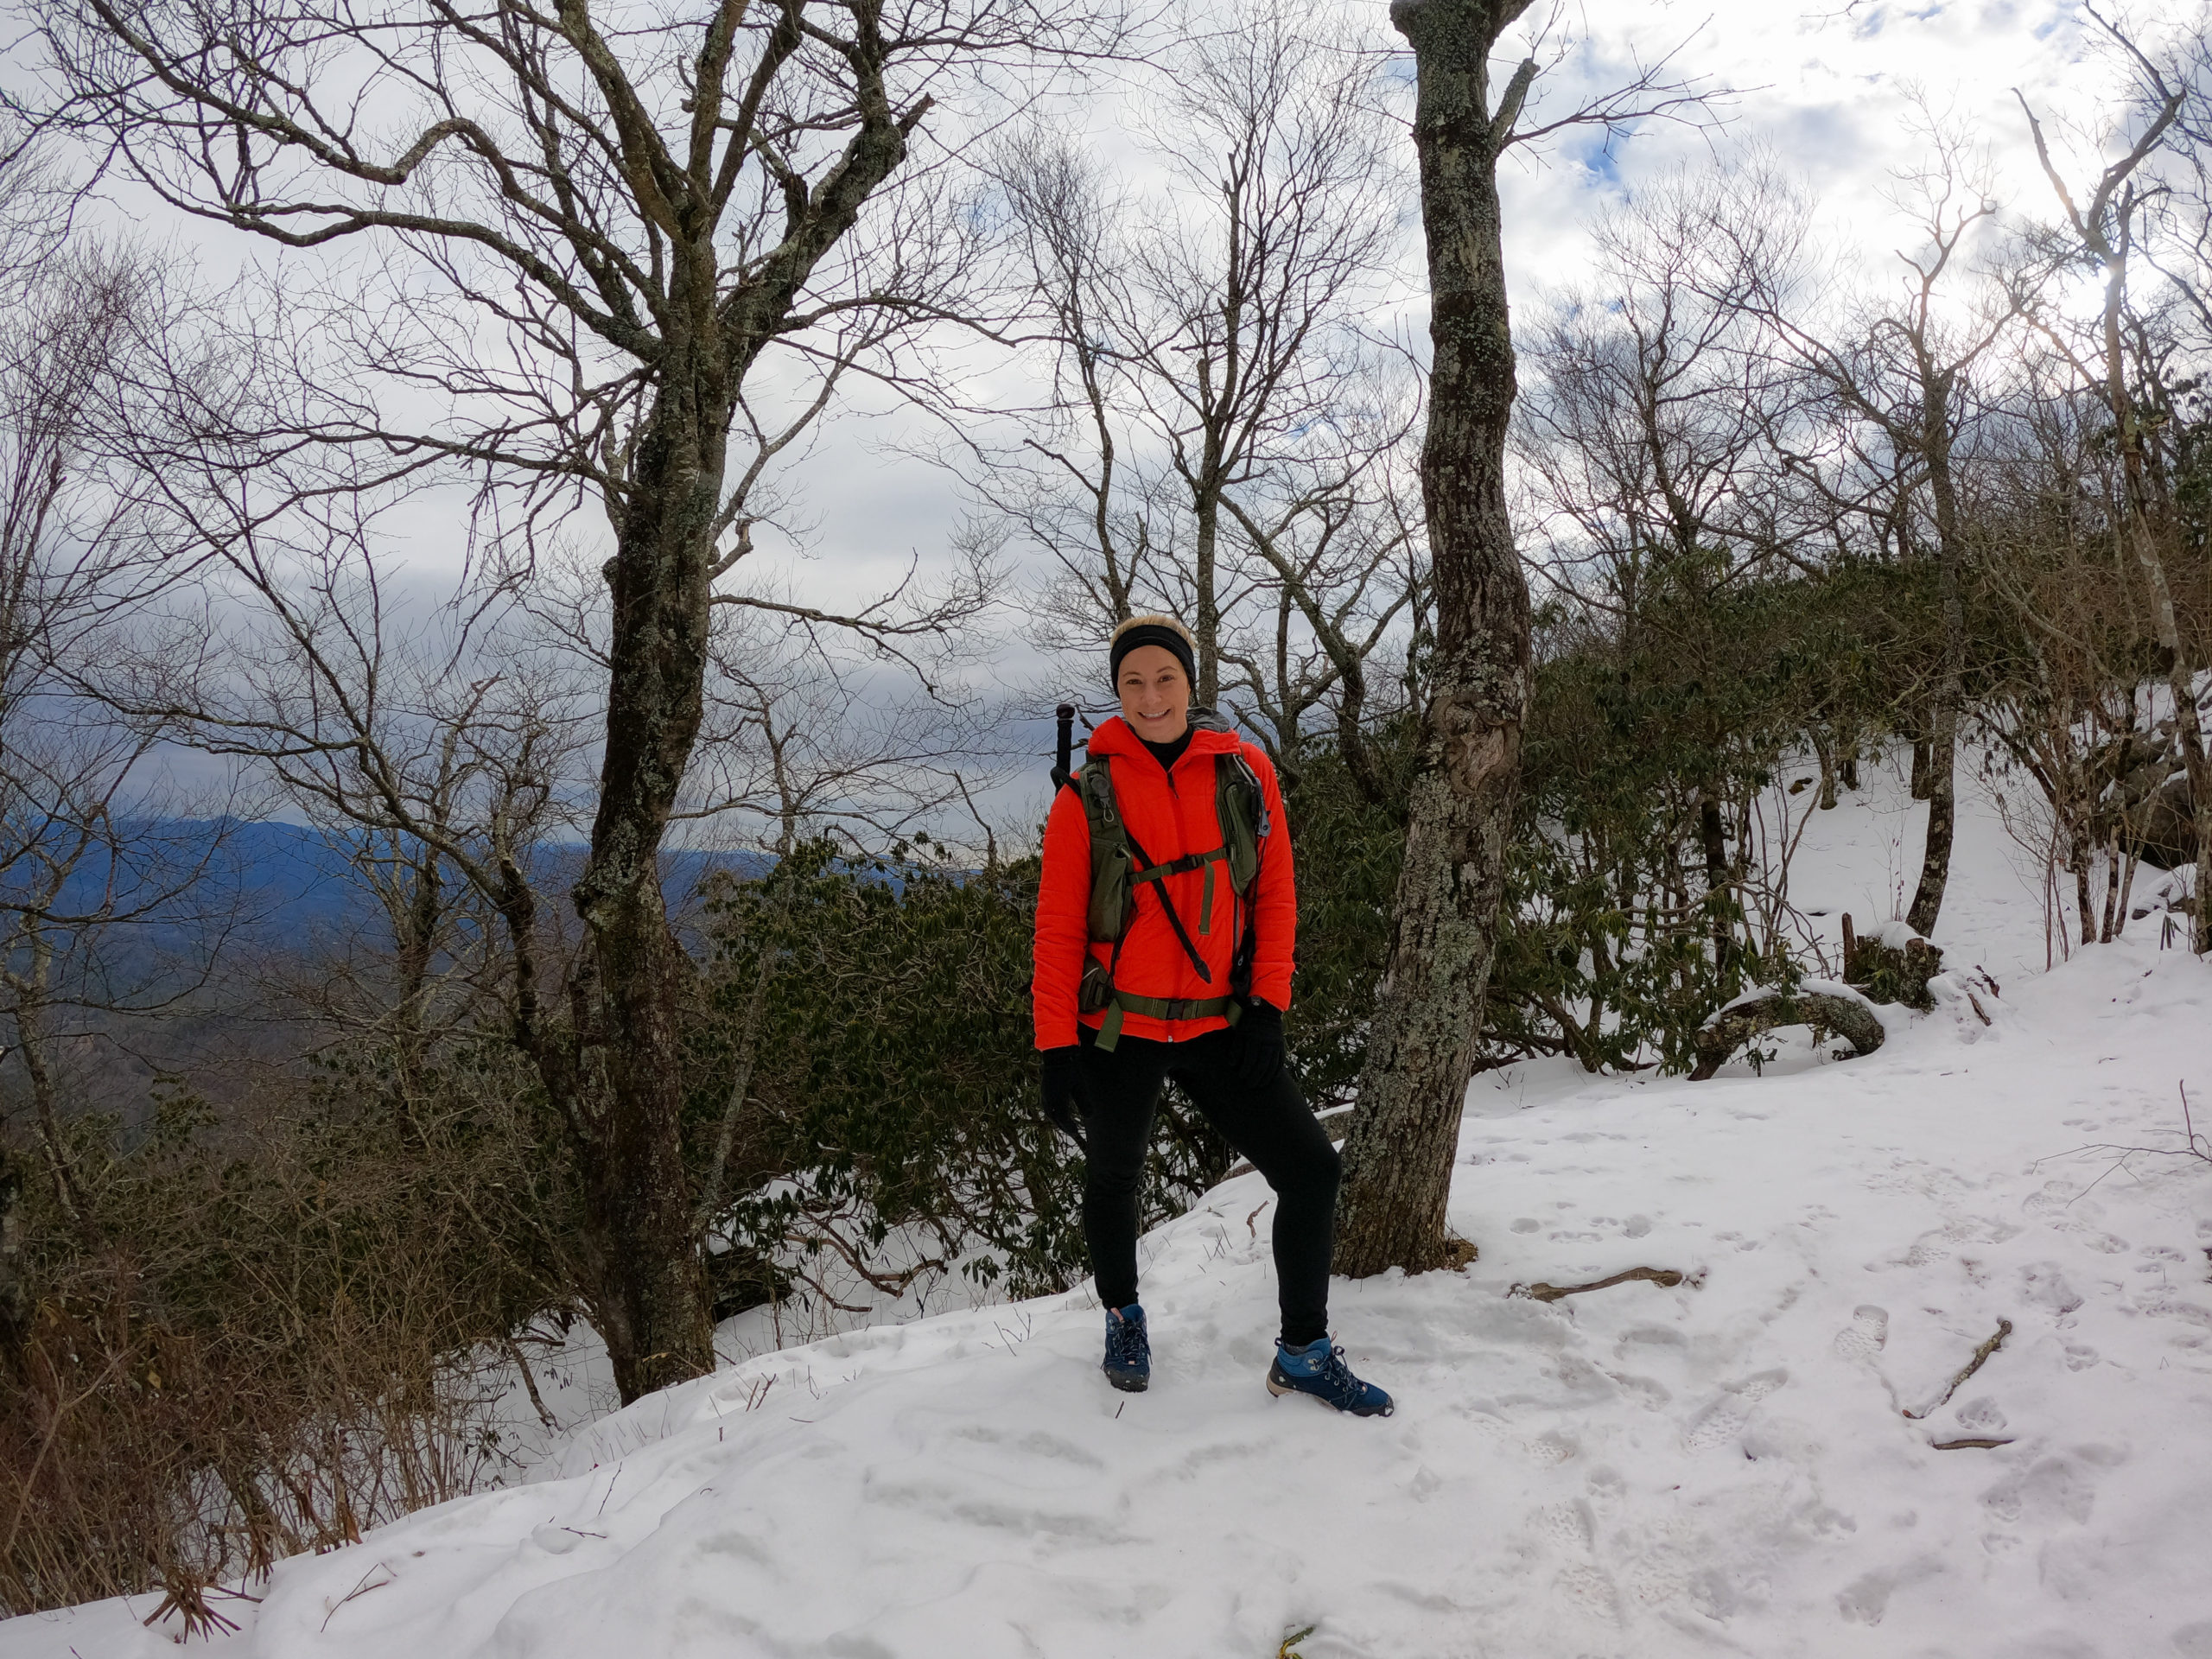
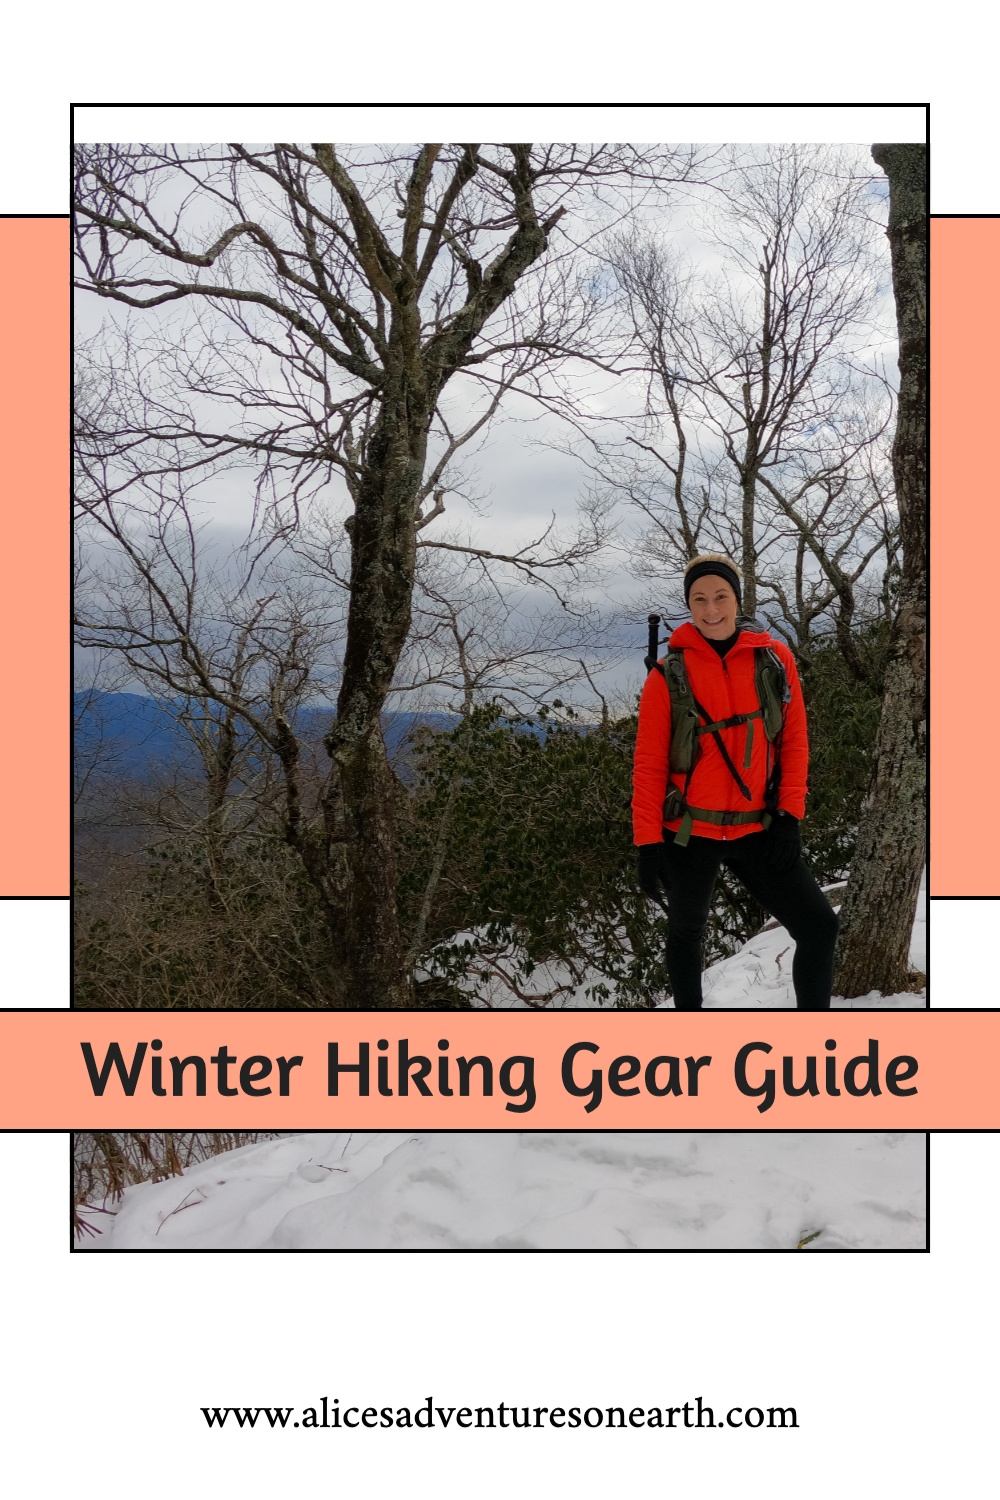
The best strategy for staying warm while winter hiking is to use a layering system for your clothing. You will want to have the following layers for high elevation and cold-weather hikes: a base layer, mid-layer and outer shell.
Base Layer: A top and bottom base layer of Goretex or Smartwool material to keep you warm and also wick moisture. I often wear a wool base layer, but sometimes I wear insulated legging that can be worn in place of long underwear and outer shell.
Mid-Layer: Depending on the temperature you may want to pack two mid-layers. A fleece or similar pullover is best, or some other long-sleeved insulated layer or vest. This should be followed by an insulated jacket, puffer, or something similar that is lightweight, water-resistant, but also extremely warm.
Outer Shell: The outer shell is worn on top of the other layers and should consist of a wind and rainproof layer. You should have an outer shell for both top and bottom that will protect you from high winds and rain, sleet or snow.
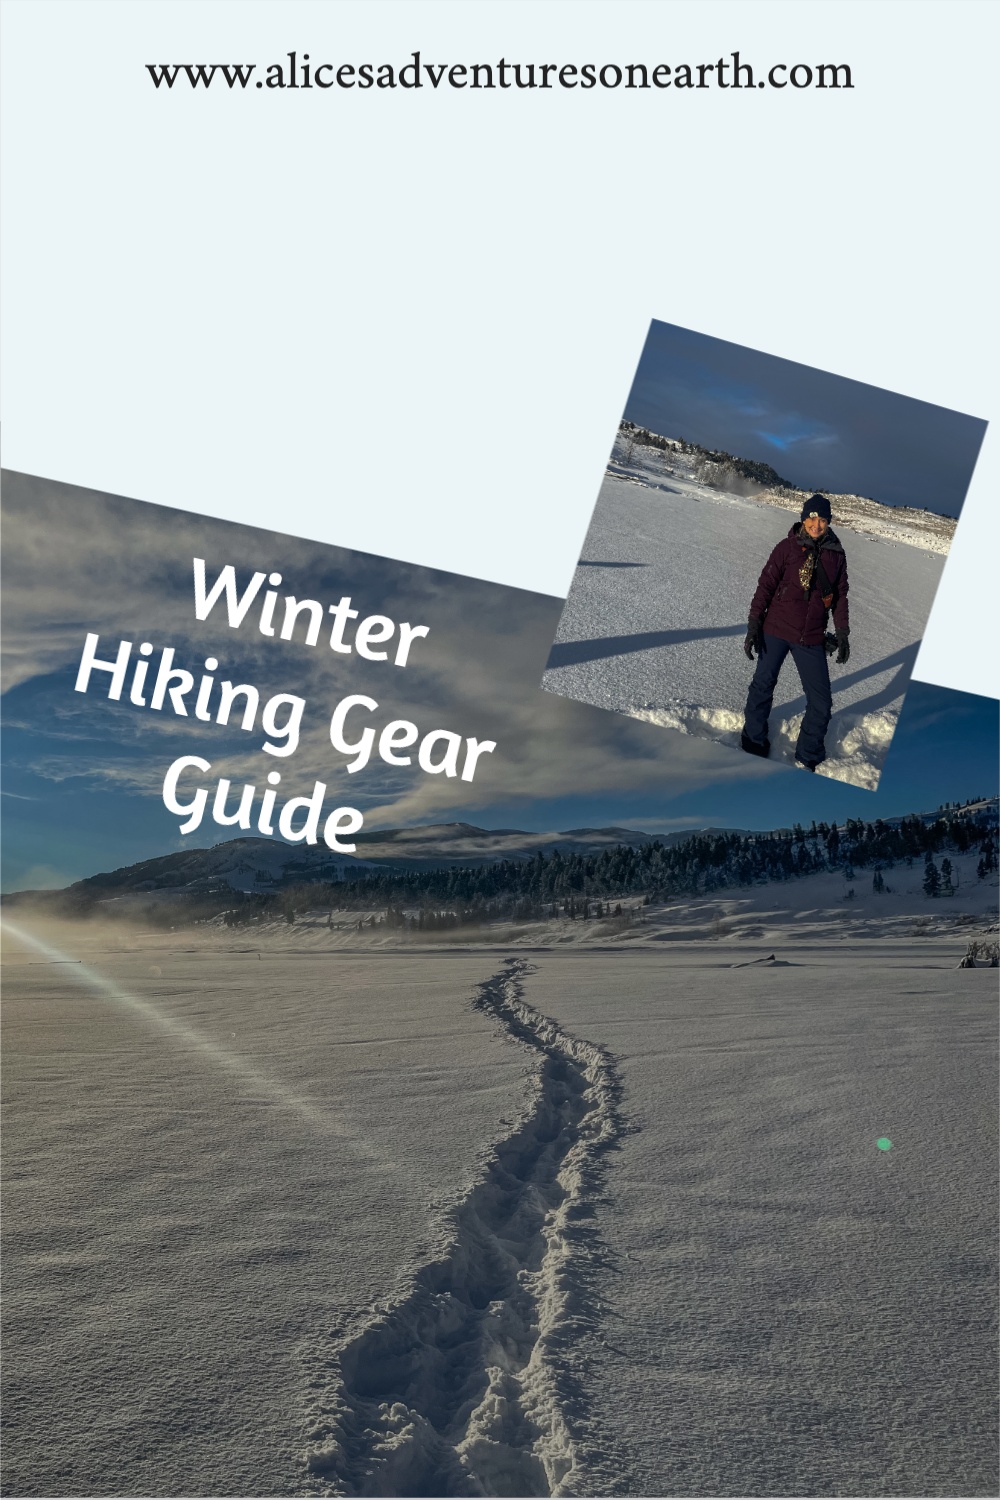
I like to wear insulated leggings or long underwear as my base layer, and snow pants or light water-resistant pants over them depending on the temperature and snowpack as my outer shell. This was my strategy on sub zero mornings in Yellowstone where I went to see the wolves in winter. Read more about the experience in my Winter Guide to Yellowstone.
Try to avoid wear cotton, as it takes too long to dry and will make you cold if it becomes damp.
Avoid anything that’s too tight like watch bands or shoes that are too small. A lack of circulation can speed up hypothermia.
Always have a plan to stay dry and warm. Despite the freezing temperatures, it is possible to sweat under all your layers. When this happens, it becomes much harder to stay warm.
Try reverse layering by adding layers as you get cold instead of shedding layers as you get hot. This technique will help to avoid dampening your clothes with moisture. It’s a good idea to bring an extra pair of socks and an extra shirt in case you get wet or are still too cold.
What About Your Hands and Feet?
It’s important to keep your hands and feet dry and warm. Your fingers and toes are usually the first to get cold, and once that happens it’s hard to warm them up.
On your feet, I suggest a good pair of wool or heated socks. I prefer a higher sock but mid-height socks are great as well. Make sure you have a pair of insulated and weather-resistant boots that are suitable for the trail you will be visiting. You should also consider microspikes or crampons if conditions will be icy, and snowshoes or telemark skis if you will be in deep snow. Gaiters can also be put over your shoes for snow hiking. Trust me you want these in snowy conditions!
As for your hands, make sure you have a pair of warm and insulated gloves. It’s a good idea to layer your gloves as well. Use thermal gloves as a base layer and water-resistant gloves on top, depending on how cold the temperature will be.
Food and Drinks
Make sure you pack healthy and nutritious food that satisfies you on your hike. Bring food that is high in fat and calories since you will expend more calories due to the cold weather. It’s easier to get cold when you stop moving, so I suggest packing snacks you can eat on the move. That way, you don’t have to stop and eat.
It’s vital to stay hydrated while you are hiking. Being dehydrated can speed up the onset of hypothermia. You may not feel thirsty since It’s harder to drink in the cold, but your body actually burns more energy when it’s trying to warm up. Therefore you may need to drink more than you think. I recommend getting a water bladder with an insulated hose and filling it with lukewarm water so it does not freeze.
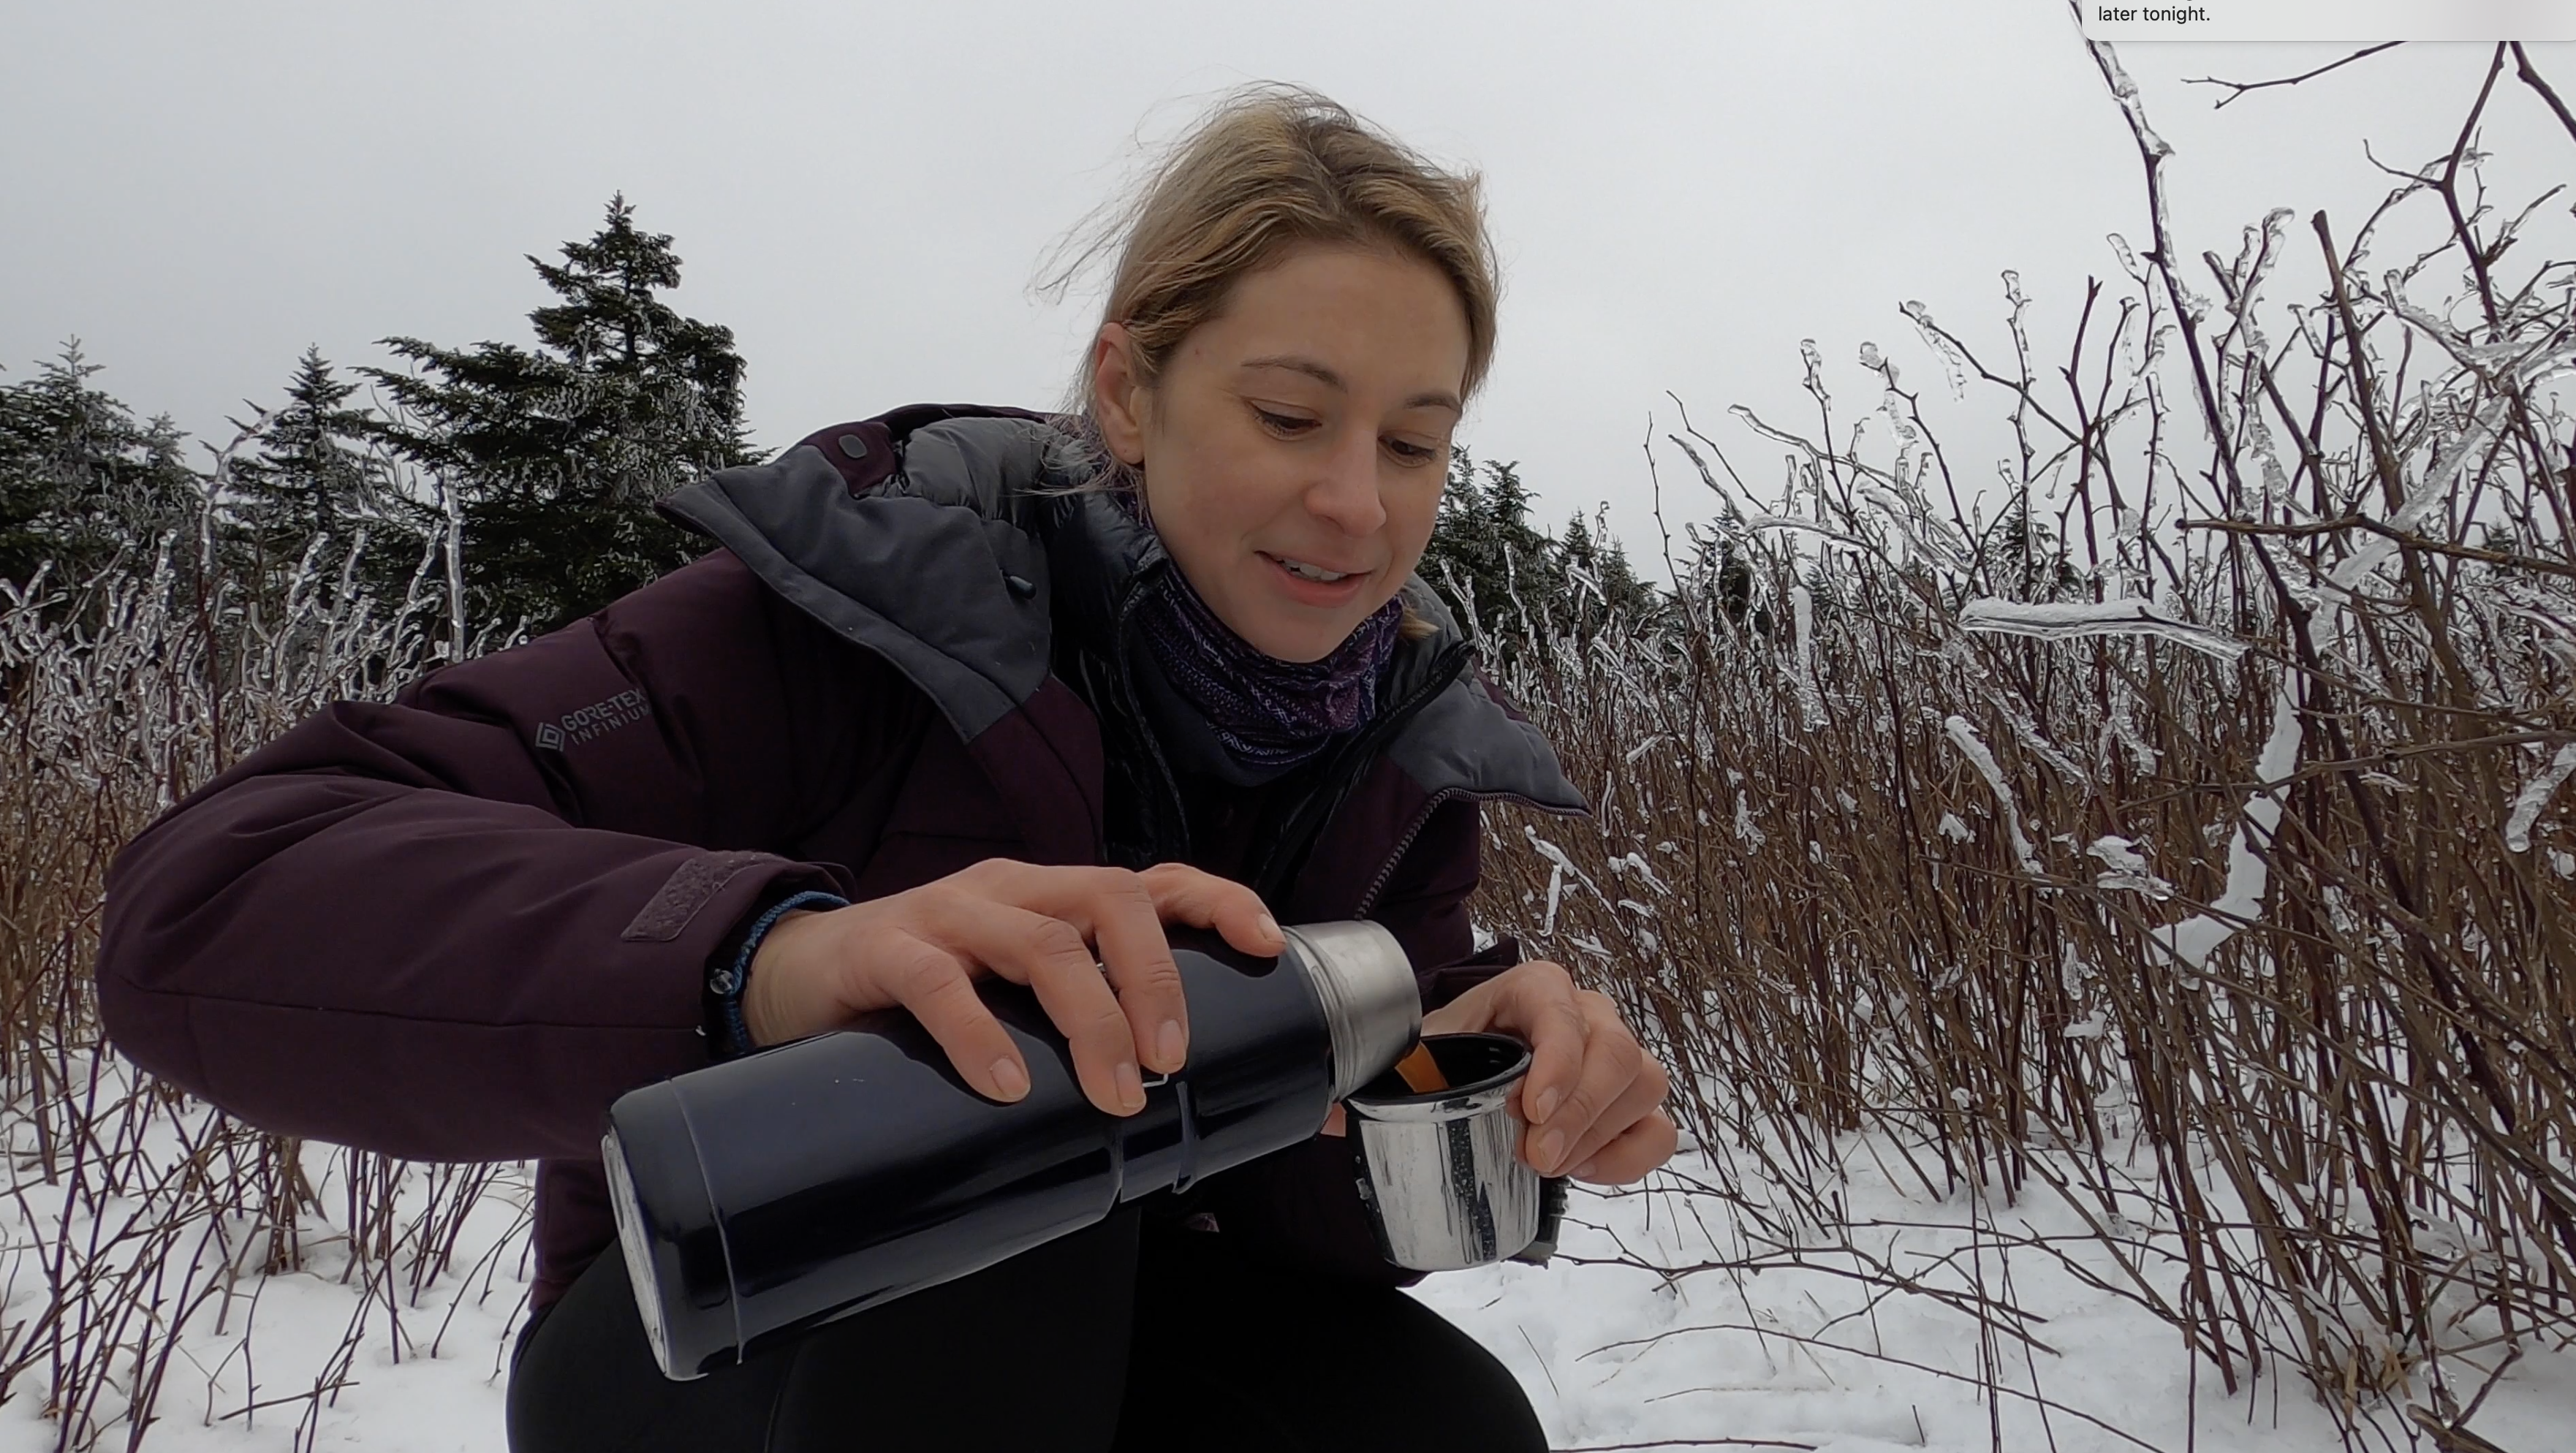
I always like to pack a well-insulated thermos with hot tea, cocoa or a light soup as a treat in the cold weather to keep me going.
Winter Hiking Gear and Camera Accessories
Keep in mind that tech devices like cell phones and cameras don’t work best in cold temperatures. The cold can actually drain the battery of your devices faster than usual, so be sure to pack extra batteries and a portable charging device if you rely on your technology.
It’s a good idea to bring a paper map in case you lose all the power in your cell phone. Try to keep your camera batteries in your inside jacket pockets or inside an insulated portion of your backpack near your body. This goes for cameras, phones, GPS devices and any other lithium batteries.
My Top Winter Hiking Accessories:
- Trekking poles
- Hat for sun and warmth (I wear both a visor and a beanie)
- 2 pairs of gloves: lightweight and Mitten or snow gloves
- A neck gaiter or face covering
- Headlamp – Days are shorter in the winter and you may be hiking in the dark if you stay out too late.
- Microspikes, crampons, or ice picks depending on conditions
- Sunscreen
- First Aid Kit
- Multitool
- Emergency device if hiking alone, or doing any technical climbing.
- Sunglasses
- Snacks
- Thermos with hot soup or beverage
- Firestarter
- Emergency Blanket
Winter Camping Tips & Tricks
Selecting a Campsite
If you are planning an overnight hiking trip, it’s essential to find a good campsite and be well prepared for the weather overnight. The best locations are flat, a safe distance from steep slopes. It’s a good idea to have a backup camping location. Don’t be afraid to cancel and reschedule if the forecast calls for snow or extreme temperatures. Even the best sleeping bag will have a hard time keeping you warm in sub-zero conditions.
Pitch your tent on top of the snow, by clearing a small layer of snow and smoothing out an area larger than your tent. Then, pile snow onto your tent on the side most likely to be hit with wind. The snow will act as a shield from the wind and help keep you warmer. If you can find a group of trees, they make a good wind buffer too. Try to angle your tent to catch the morning sun, which will help warm you up.
For added warmth, a tent liner is a great thing to have for winter camping. Don’t forget a sleeping bag that is rated for the temperature you will be sleeping in (or better yet, rated for 10 degrees colder than what’s forecast). You may also want a sleeping bag liner for an extra layer of warmth, and a sleeping pad to keep you comfortable.
Making a Campfire
A campfire can help to keep you warm and allow you to cook a hot meal, but only if you’re able to start one. Make sure you bring plenty of fuel and fire starter since the kindling you find will likely be damp from the snow. Always check local regulations before starting a fire as well, as some areas may have fire restrictions.
You’re Ready for Some Winter Hiking!
Hiking in the winter months is definitely a challenge, but as long as you are prepared it can be an incredibly fulfilling experience. Make sure you plan ahead by knowing your route and checking the local weather forecast. Don’t be afraid to reschedule your hike if needed!
If the conditions are clear, ensure you have all the layers you will need to keep your entire body warm. Don’t forget to add layers as you get cold to avoid sweating and getting wet. Make sure you have the proper winter hiking boots, any gear you will need, fulfilling snacks and lots of water. If you are planning on camping, look for an ideal site away from slopes and wind, and make sure your sleeping back is rated for the temperature you will be in.
Lastly, don’t forget to enjoy the experience! Winter hiking is a great way to connect with nature since the trails will be nearly empty. Have any questions about winter hiking? Leave a comment below! Check out some of the other hikes for some inspiration for your next trail.
PIN ME
You Might also Like:
Best of Cloudland Canyon State Park, Georgia
It's important to stay on marked trails and follow all park rules when you visit Cloudland Canyon State Park. As I share all the details you need to navigate the park's best features, you might see affiliate links that you can use to help me earn a small commission...
Winter Guide to Wildlife in Yellowstone National Park
Winter Guide to Wildlife in Yellowstone National Park Something I have wanted to do for years is see wolves in the wild in Yellowstone National Park. Yellowstone is America's first National Park, established in 1872 and known widely for its geothermal features. The...
Best Waterfalls in Georgia – Tallulah Gorge State Park
When you visit Tallulah Gorge State Park, keep the park's rules and requirements in mind (like 100/day permit limits and no flip-flops or Crocs). I know you'll enjoy this place as much as I do! Also, keep an eye out for affiliate links I'm including in the post. If...




0 Comments