The Ultimate 4-Day Itinerary for Olympic National Park
Shouting this disclosure from the (Olympic) mountaintops because I believe in total transparency: This post contains affiliate links. If you click one and make a purchase, I may earn a small commission from the sale at no cost to you. Thank you for your support!
Olympic National Park is a stunning stretch of rugged mountainous, coastal, and rainforested terrain on the Olympic Peninsula in Washington State. As one of the 15 most-visited national parks in the country, I knew I had to come experience it firsthand!
Come along on my solo adventure through the park’s most scenic trails that wind through the Olympic Mountains, lead to ancient glaciers and alpine meadows blushing with colorful blooms, take you through rainforests with towering old-growth trees and gushing waterfalls, and beckon you to meander along the wild Pacific Coast.
My 4-day itinerary for Olympic National Park turned out to be an excellent way to see the most amazing sights and summits in the park, so watch the video below, follow along, and snag some ideas for your upcoming trip!
The Best 4-Day Itinerary for Olympic National Park
Olympic National Park is divided into 4 zones: The majestic Olympic Mountains, lush temperate rainforest, lowlands teeming with wild waterfalls and rivers, and the stunning Pacific coastline with endless panoramic views. You might even spot pods of whales spouting geysers of water off the coast!
I decided to follow Highway 101 around the park counter-clockwise to start in the Olympic Mountains, then track along to the west and south to explore summits, panoramic views, rainforests, falls, and lakes in the park.
I recommend following this counter-clockwise loop during your own 4-day itinerary for Olympic National Park to see it all. You’ll start off on the right foot with some jaw-dropping mountain views on Day 1!
-
- 👉 Find the perfect hotel
- 🚗 Rent a Car
- 🥾 Find a nearby Trail
- 🧳 Pack the perfect suitcase with these packing cubes
- 👉 All the gear you need for your adventure
- 📱Grab an E-Sim for travel abroad
Day 1: Mt. Townsend Summit Hike & Sequim Overnight Stay
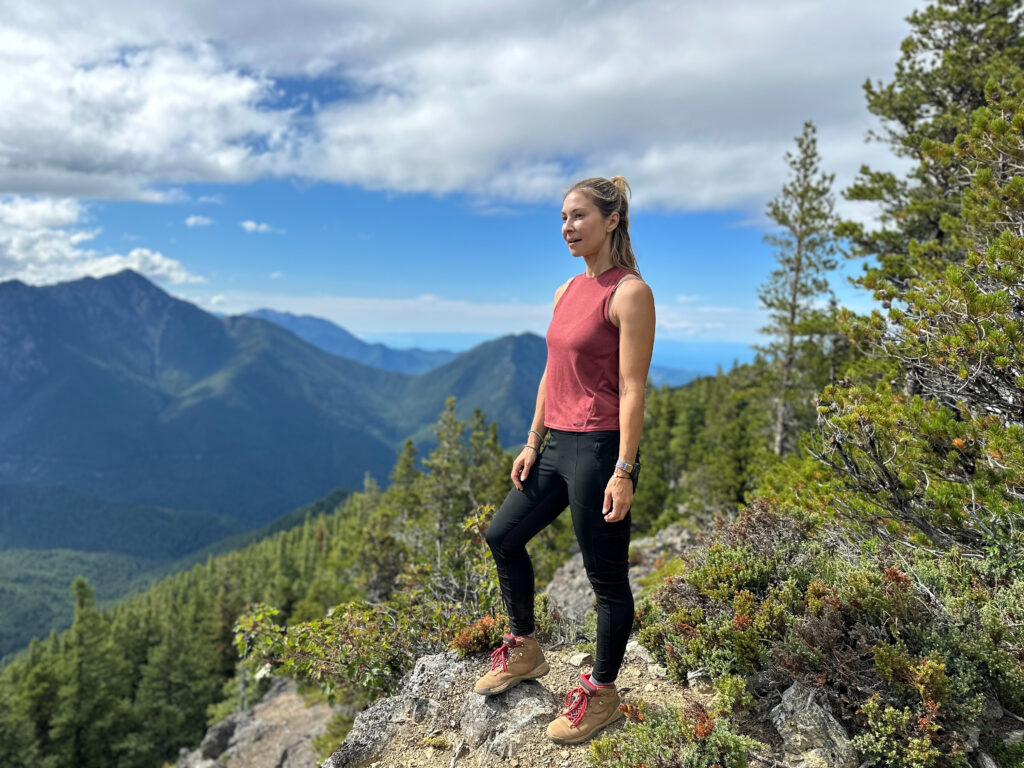
I started my adventure by heading straight to the hiking trails on the eastern side of the park in the rugged Olympic Mountains.
Exhilarating Mt. Townsend Summit Hike
Mt. Townsend (northeastern end of the park) was first on my list after checking AllTrails for reviews and suggestions. This is where you’ll find some of the most incredible views in the park after making your way down a 20-mile dirt road.
It’s typically a less-crowded trail and if it’s clear enough, you can glimpse Mt. Rainier from here. The trail is a little over 3 miles long and relatively steep (about 2,500’ of elevation gain). It took me about 5 hours to complete the hike at a steady pace.
Clouds kiss the mountain peaks and evergreen trees form dense curtains of forest around you as you make your way up to the summit of Mt. Townsend. I was so fortunate to be here on a sunny day with endless views of the towering mountains around me.
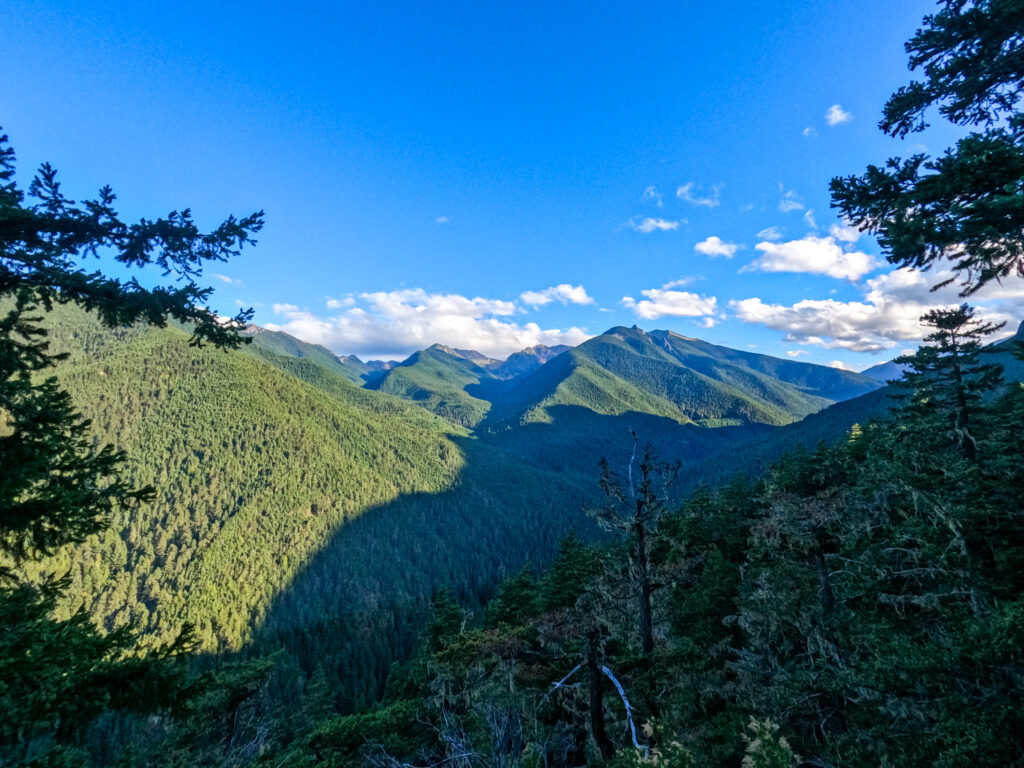
Reaching the summit, you’ll be rewarded for your dedication with amazing views of the surrounding mountains, Seattle and Mt. Rainier in the distance, and the Puget Sound below.
I took a moment to feel the vastness of the scenery and views around me at the summit. Breathe deep, take in the view, and marvel at the beauty around you.
Charming Sequim Stay
After the exhilarating hike, I headed back down the dirt and gravel roads that led me here, got on the highway, and came to the charming town of Sequim (pronounced “skwim”) to stay for the night.
I found an affordable, clean little motel room for about $120/night here. I recommend doing some research and booking your accommodations in advance to make sure you can score a room at a good price. Check some hotels on in Sequim or nearby Port Townsend.
Grab some dinner (if you’re like me, takeout might be all you’re up for after this hike!) and get some rest for the big Day 2 plans.
Day 2: Hurricane Ridge, Lake Crescent & Marymere Falls
After stopping at Rainshadow Coffee in Sequim for some coffee and a breakfast sandwich to fuel me up, I headed toward the Hurricane Ridge Entrance Station in the park (it’s about an hour away).
Hurricane Ridge Hike
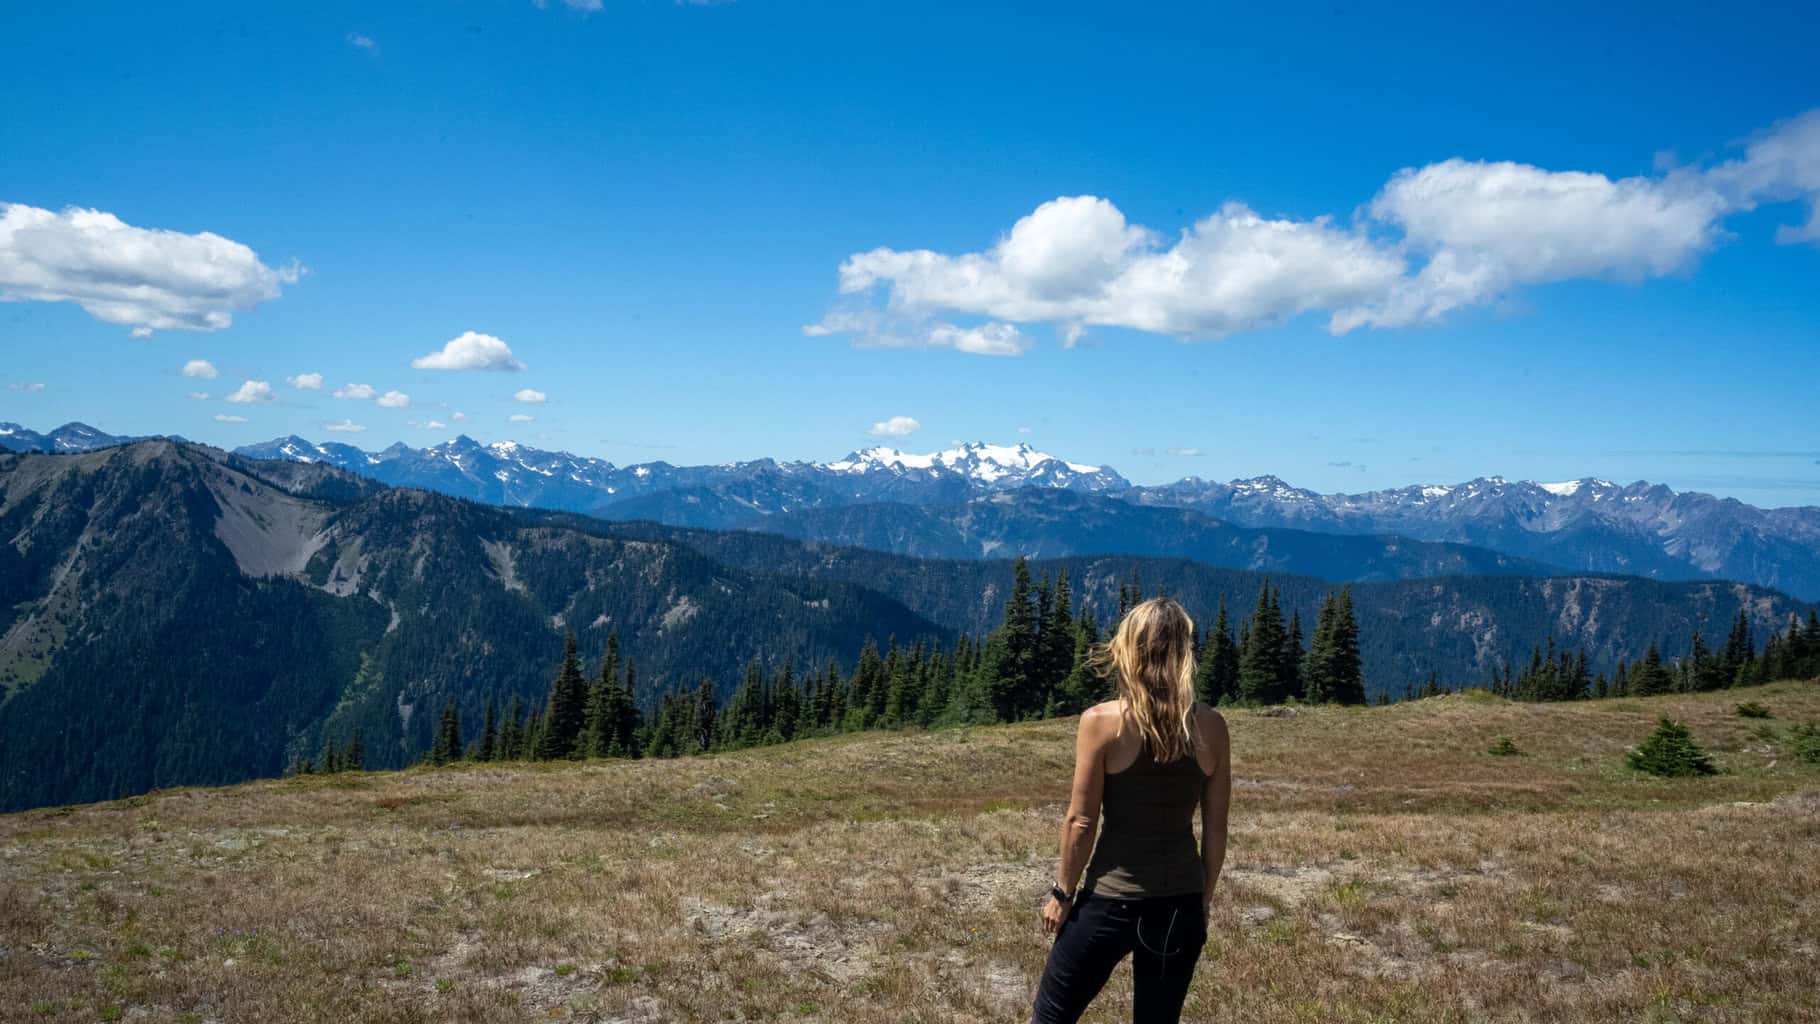
Hurricane Ridge is the most easily-accessed mountainous portion of the park and offers some fantastic views.
Hurricane Ridge gets its name from the extreme microclimate it experiences with high winds and heavy precipitation. In the winter, this part of the park can see up to 35’ of snow! Road closures due to snow drifts and ice can occur all the way into July, so check road conditions online here.
There are several paved and accessible trails here if you’re looking for some quick loops or short out-and-back trails that the entire family can enjoy.
I headed for the Visitor’s Center, but found it had burned down in May 2023, taking 70 years of history with it. I’m not sure if there are plans to rebuild just yet, but for now, you’ll need to rely on the national parks website for trail maps and information.
Obstruction Point Road Scenic Drive
From the top of Hurricane Ridge, I drove down Obstruction Point Road, the highest elevation road in the entire national park (from 5,242’ at Hurricane Ridge to 6,150’ at Obstruction Point). It’s a winding, narrow dirt road with some hairpin turns and switchbacks.
I definitely recommend this thrilling drive if you’re comfortable navigating the turns and steep drop-offs! It offers unmatched views of the mountains around you and is a great way to explore more of the park without exhausting yourself after the challenging Mt. Townsend hike from Day 1.
Picturesque Lake Crescent & Marymere Falls Hike
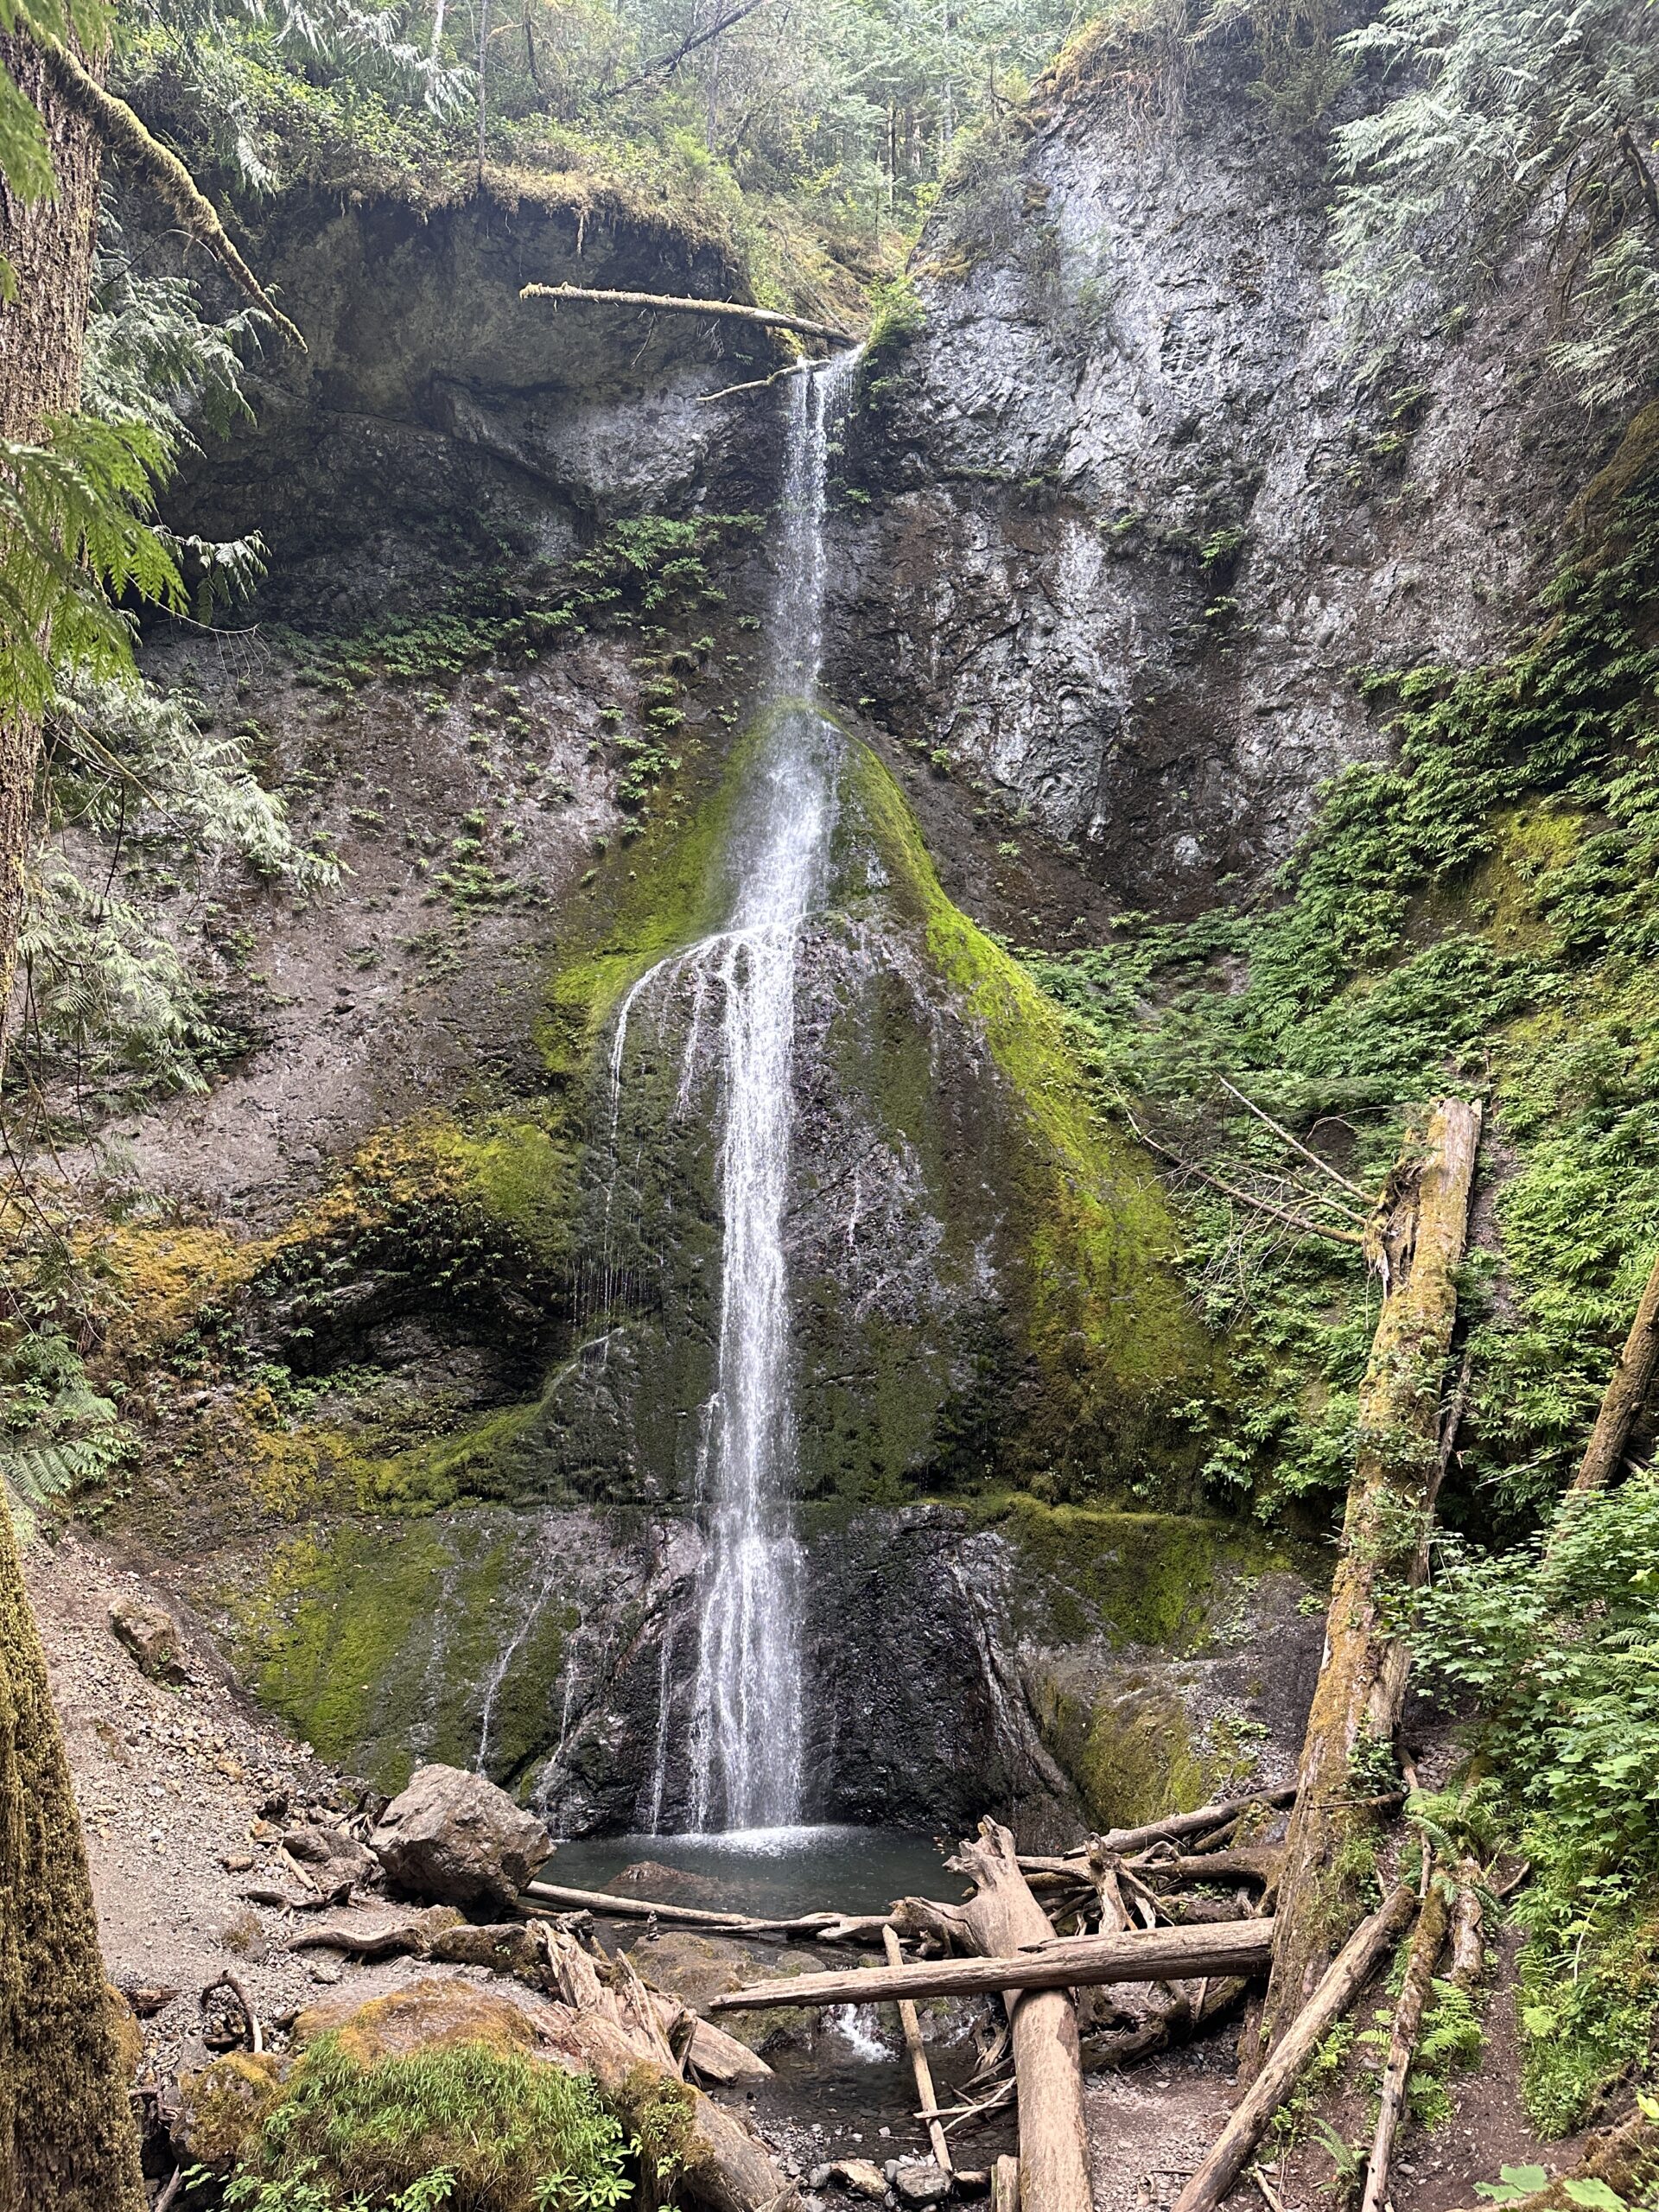
Next, I headed to the shores of Lake Crescent and found two trailheads at the Storm King Ranger Station. The easy trail to Marymere Falls is only 1.5 miles round-trip! It leads through dense old-growth forest and over Barnes Creek to the namesake falls.
This loop trail offers great views of Marymere Falls. The falls are a narrow spout of water cascading down mossy rocks, splitting into babbling channels and pooling below. It’s truly beautiful and so easy to reach!
I saw lots of families hiking this loop, so don’t hesitate to get on the trail if you’re looking for a quick hike that leads somewhere beautiful. If you’re up for a more strenuous hike, take Barnes Creek trail from the Storm King Ranger Station. It leads about 10 miles round-trip along Barnes Creek.
Tip: If you love waterfalls and will be visiting nearby Rainier National Park while you’re here, don’t skip the Skyline Trail Loop. It’s one of the best hikes for waterfalls around the US!
You can head to Lake Crescent Lodge or nearby Port Angeles to find a place to bed down for the night. An early bedtime is never a bad idea when you’ve got an adventure-packed 4-day itinerary for Olympic National Park full of lakes, waterfalls, and lowland exploration still to come!
Day 3: Lake Crescent, Sol Duc Falls, Cape Flattery & Rialto Beach
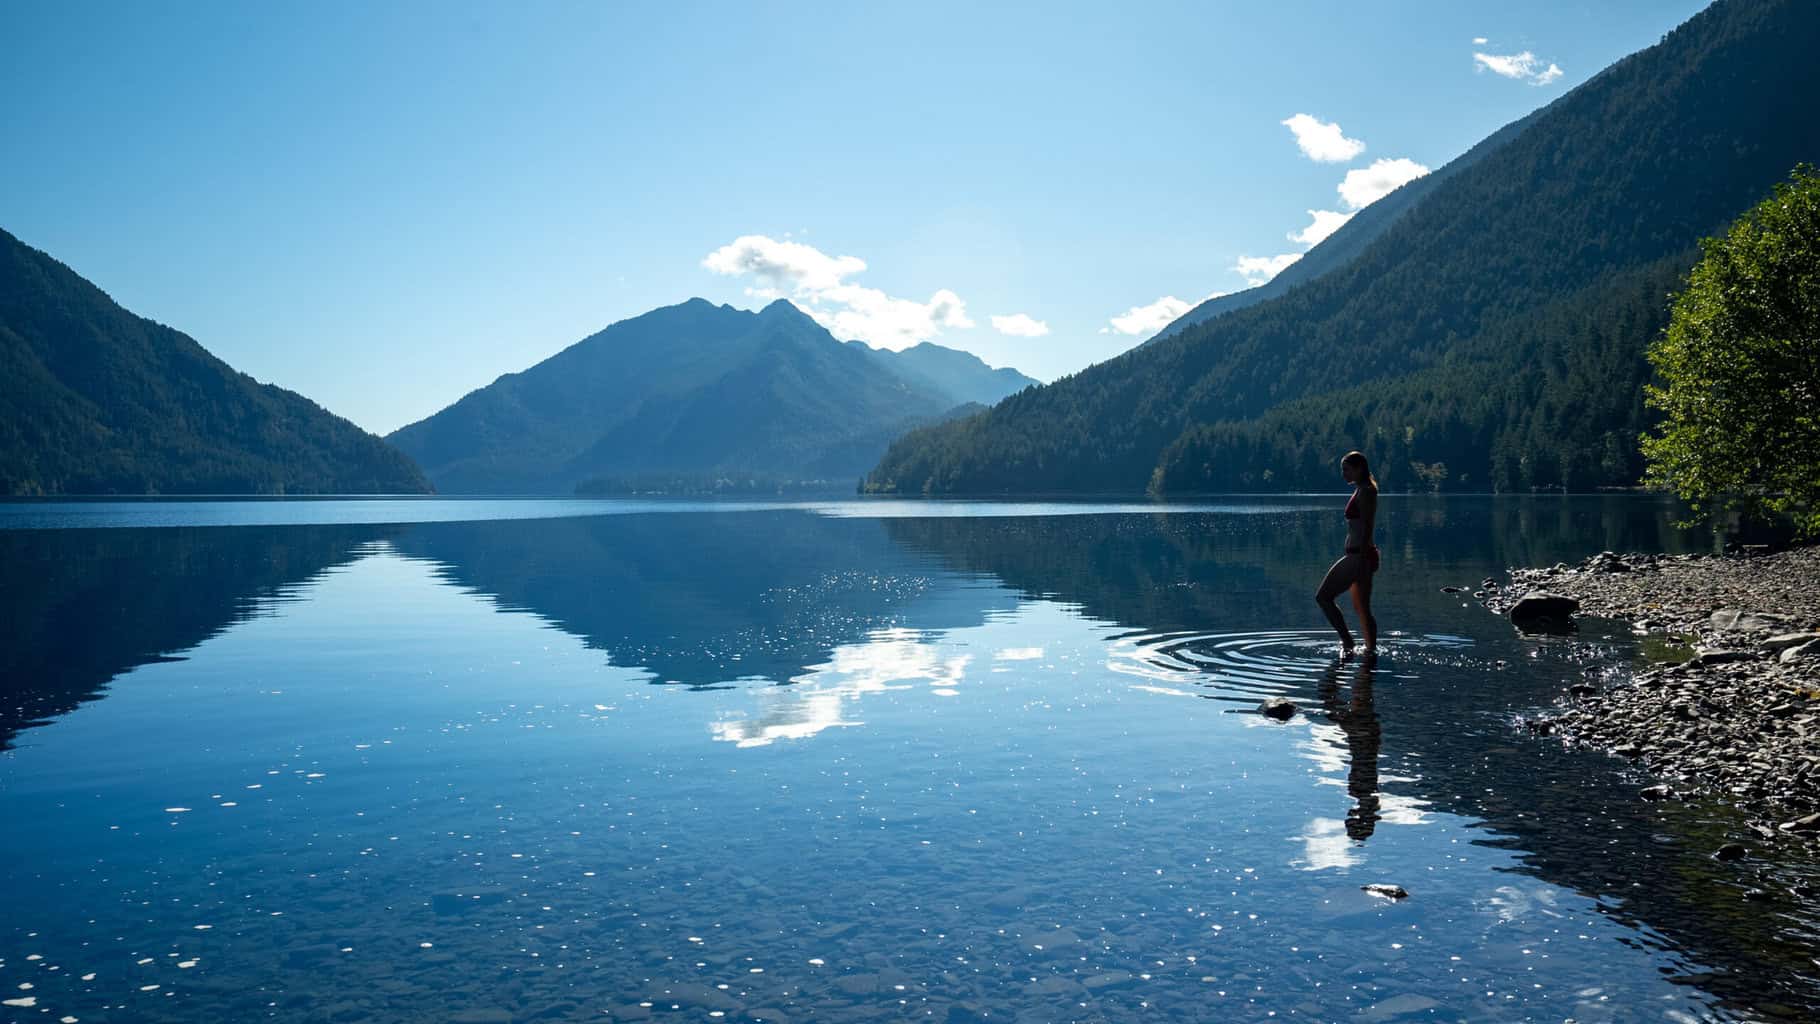
I had every intention of starting my day with a hike to Sol Duc Falls, but Lake Crescent was so inviting with clear, glass-like water that I couldn’t resist the opportunity for a morning swim.
I dove in, reminded of times throughout my childhood when we’d swim at my dad’s best friend’s lake house. The house rule: No pancakes until you had your morning swim! So I kept with tradition and immersed myself in the waters of Lake Crescent before emerging with a smile and the motivation to continue on.
This part of the park is incredibly diverse with so many scenic trails and landscapes to wander. Tall, old-growth forests, paths that lead to waterfalls and creeks, and serene lake trails made it one of my favorite areas in the park.
Short Sol Duc Falls Hike
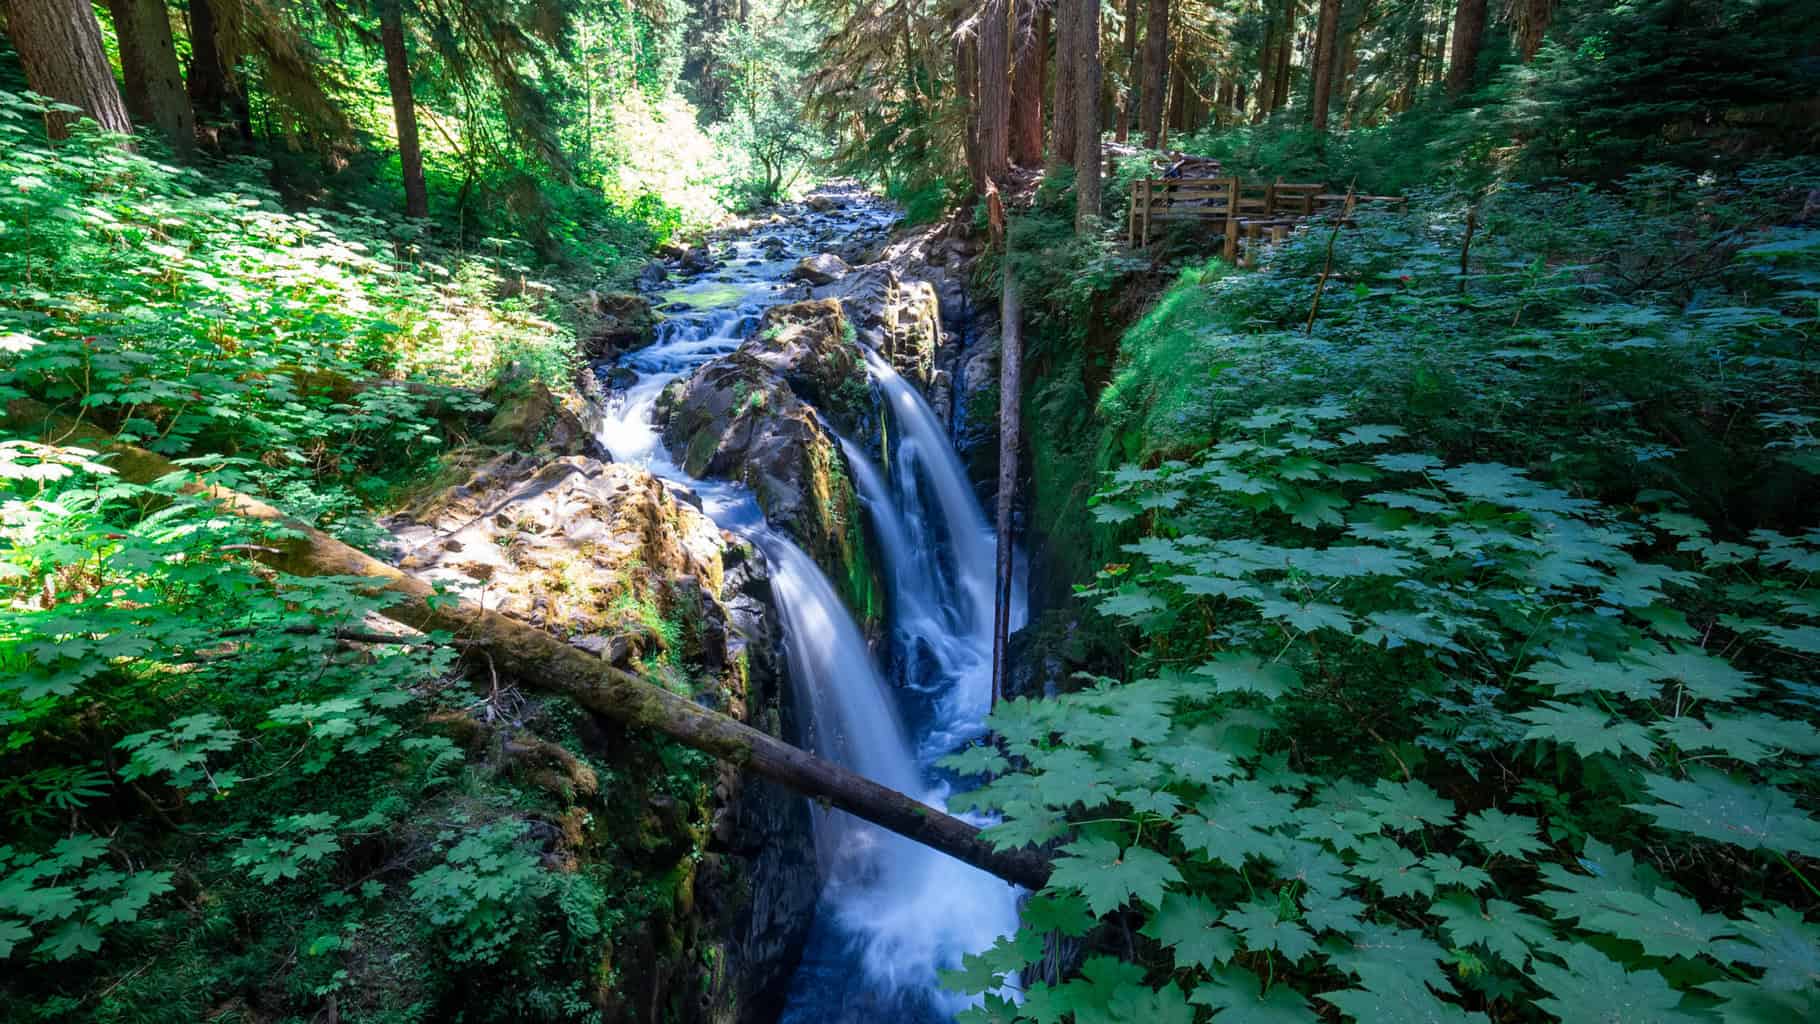
Back on track with a smile on my face, I headed for the short-and-sweet Sol Duc Falls trail near Sol Duc Lodge (you can swim in hot springs and camp here). It’s one of the park’s more popular trails, so I knew it wouldn’t be empty.
I felt dwarfed by the massive stands of evergreen trees, some seeming as old as time itself, and huge fern fronds lining the trail as I made my way down to the falls.
As I arrived and saw the water gushing over the smooth rocks in powerful jets amid this enchanted forest, I could easily see why Sol Duc is one of the most popular falls of the 25 on the Olympic Peninsula.
Scenic Shipwreck Point & Strait of Juan de Fuca
Getting off Highway 101 and sticking to the coast, I drove down to the northwesternmost point, Cape Flattery. In typical Alice fashion, I had to pull over a few times to really soak in some of the amazing overlooks and vantage points along the way.
At Shipwreck Point (the “Graveyard of the Pacific”), the Strait of Juan de Fuca was particularly stunning with views of Vancouver Island just across the channel.
By the way, I recently spent a week backpacking across Vancouver Island and created a series highlighting the scenery, sights, and tips I uncovered on this 50-mile solo trip along Canada’s West Coast Trail. You won’t believe how dramatic the views and landscapes were here. You can watch Part 1 of that adventure here!
Neah Bay Visitor Center & Cape Flattery
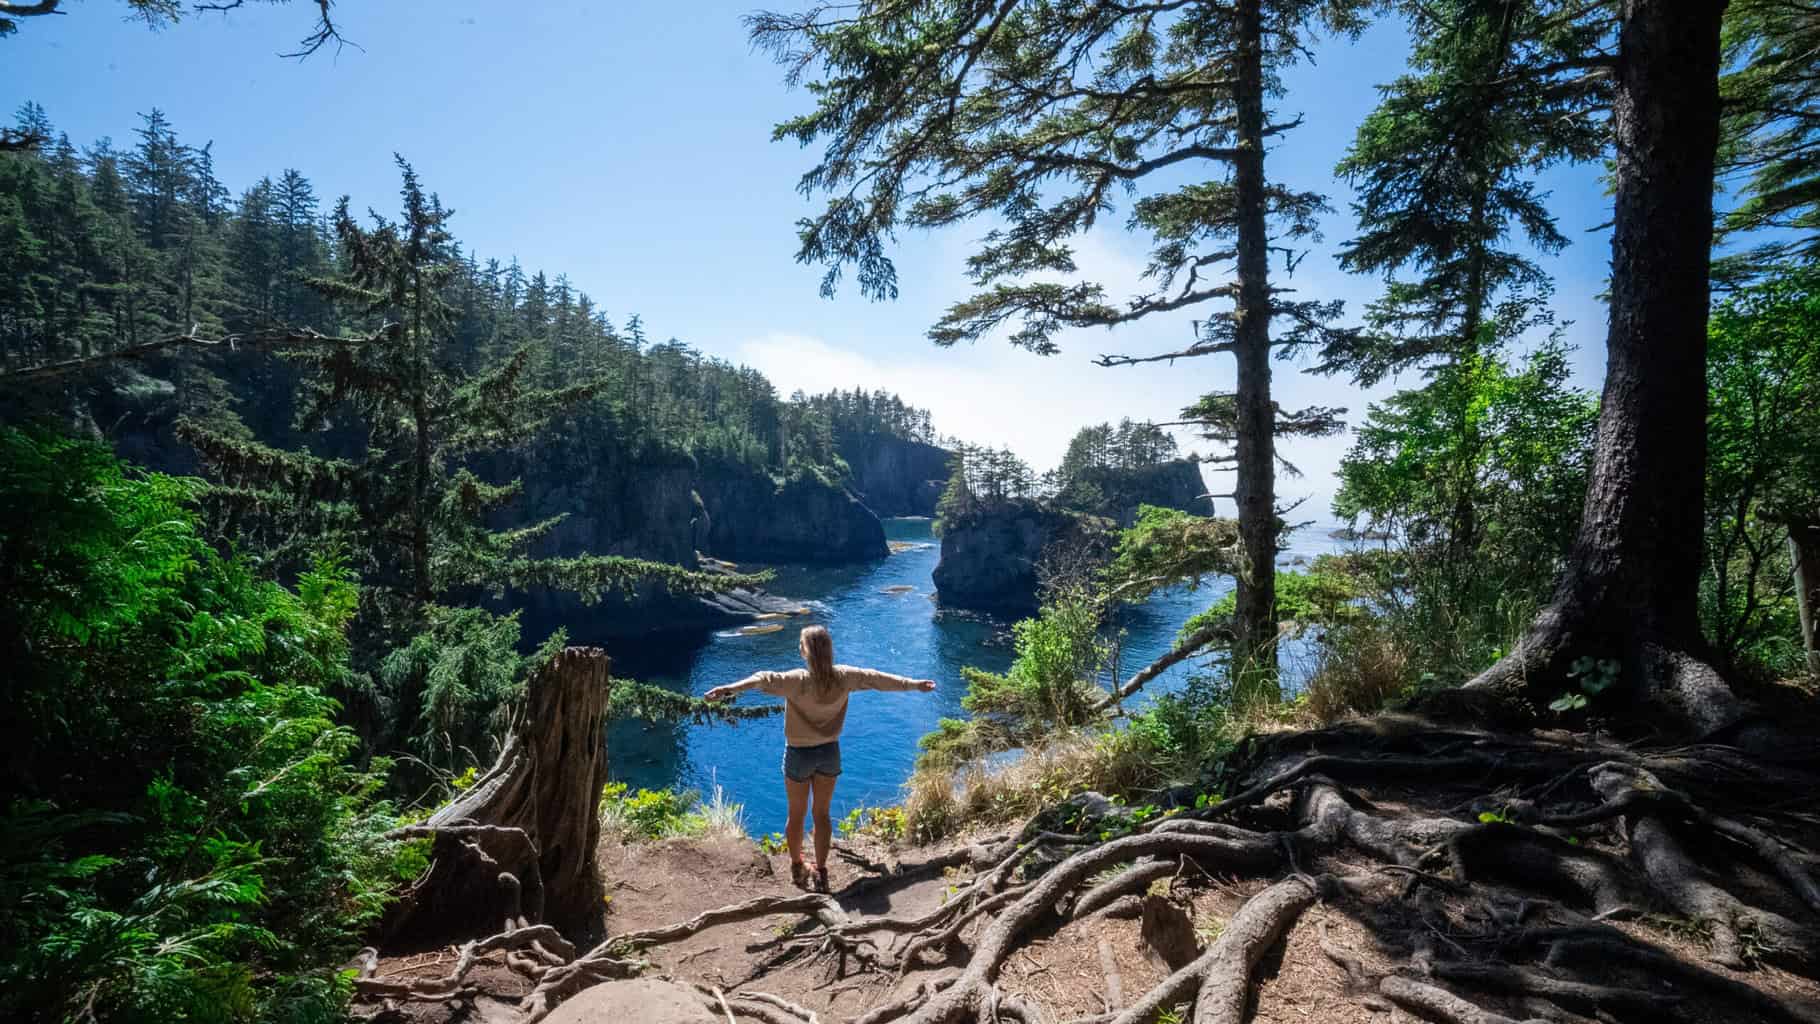
Hopping back in the car, I came to the Neah Bay Visitor Center. It’s situated on Makah tribal lands and you’ll need to grab a $20 recreation permit to come explore the natural beauty of this area. From here, I headed toward the most northwestern point in the contiguous U.S.: Cape Flattery, situated on the blissful Salish Sea.
Looking out over the Strait of Juan de Fuca, you’re so close to the line between the United States and Canada — it runs right down the middle of the Strait. This 95-mile stretch is a migration channel for marine life and hosts bountiful kelp forests that shelter and feed the aquatic species. It also separates Washington from the rugged coastline of Vancouver Island, where I had recently hiked on the West Coast Trail.
This was such a memorable experience. Be sure to bring your binoculars to spot the amazing biodiversity here, including migratory birds, whales, sea lions, and more.
All this exploration works up quite an appetite, so take the advice I was given by a woman working in the Neah Bay Visitor Center: Head to Calvin’s Crab House! This unassuming eatery piled my plate high with freshly fried fish, home fries, tartar sauce, and a juicy lemon wedge.
I ate from my perch overlooking the water with birdsong and waves providing the perfect ambience for my meal.
Forks & Glamping at Mossquatch
Belly full and ready for more, I got back on the 101 and headed an hour south toward Forks, Washington (yep, Twilight fans, that Forks).
I decided to treat myself with a little glamping experience at Mossquatch, where a huge, comfy bed was waiting for me to return to later that night in my sturdy canvas tent. It was a taste of luxury in the wilderness for around $225/night!
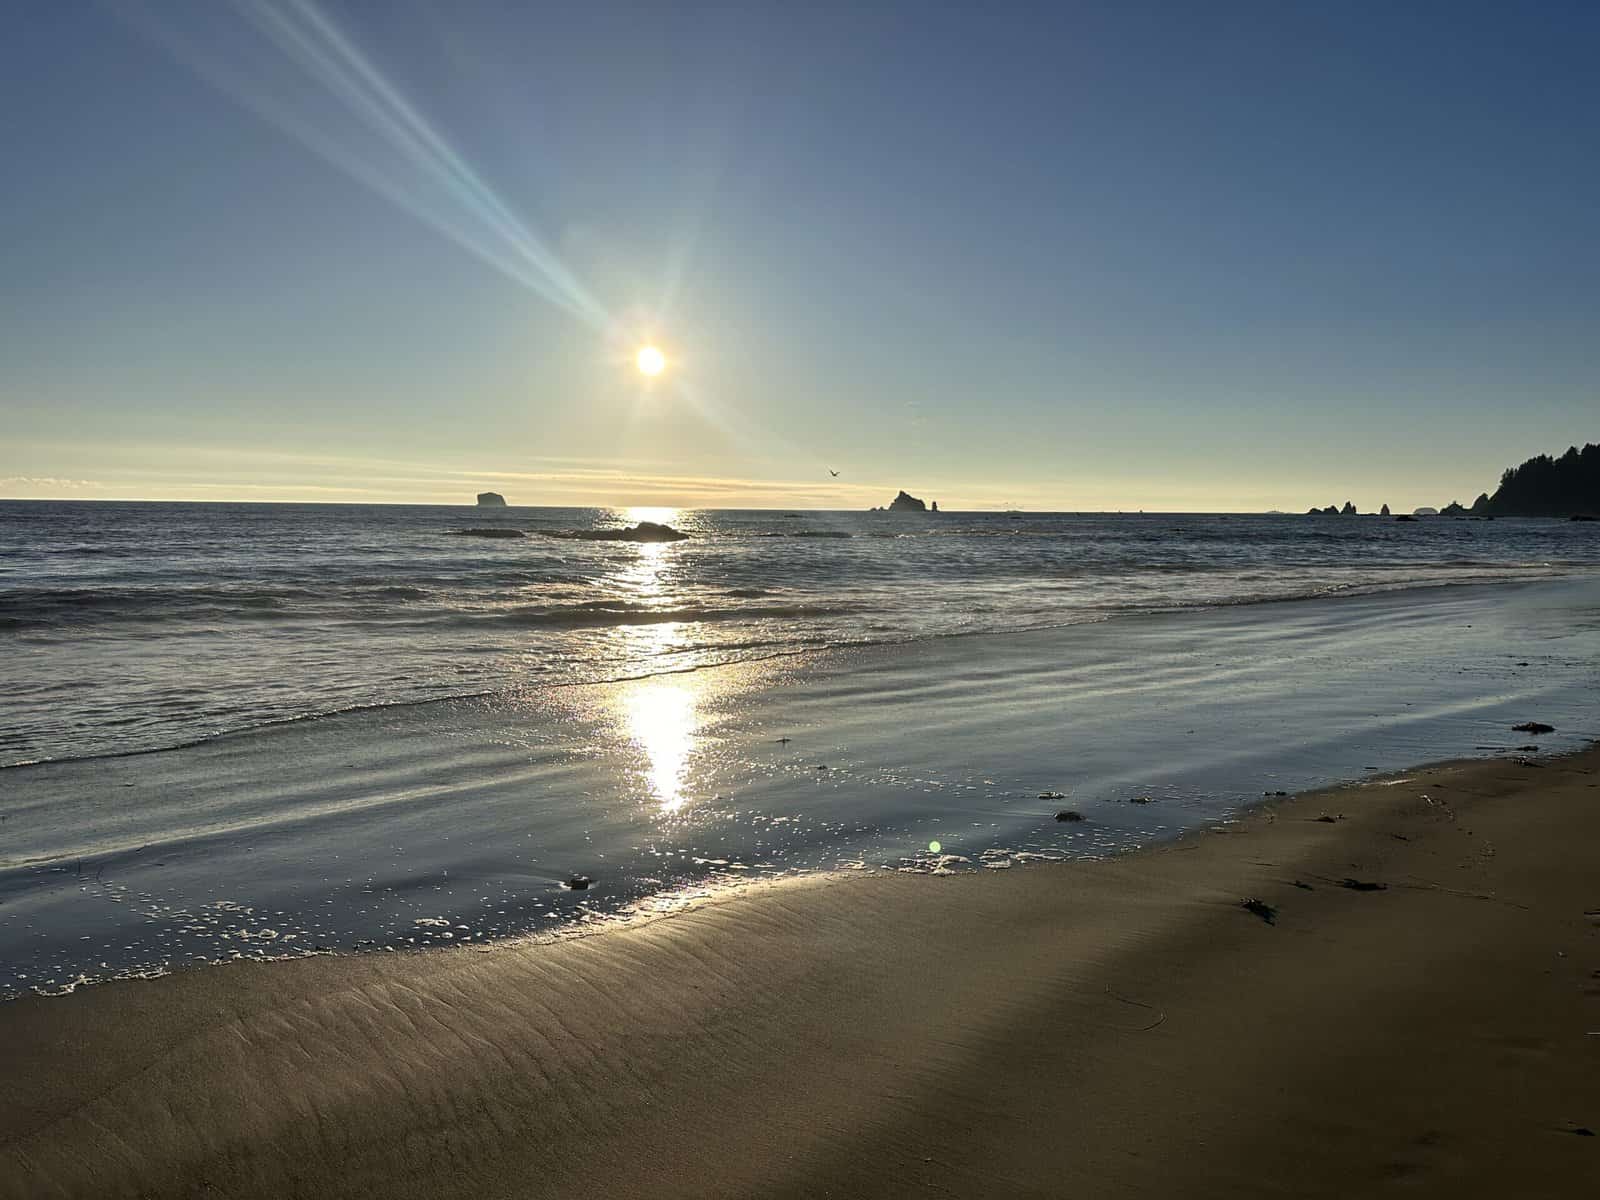
But it wasn’t bedtime just yet — instead, I decided to take advantage of the remaining daylight and head to Rialto Beach, about a 20-minute drive away. It was the perfect spot to end the day with a sunset stroll down the beach and so peaceful.
Retiring to my oh-so-welcoming glamping tent was exactly what I needed after a busy day of driving and exploring. I tucked in and got ready for my final day of solo hiking and adventure.
Day 4: Hoh Rainforest, Ruby Beach & Lake Quinault
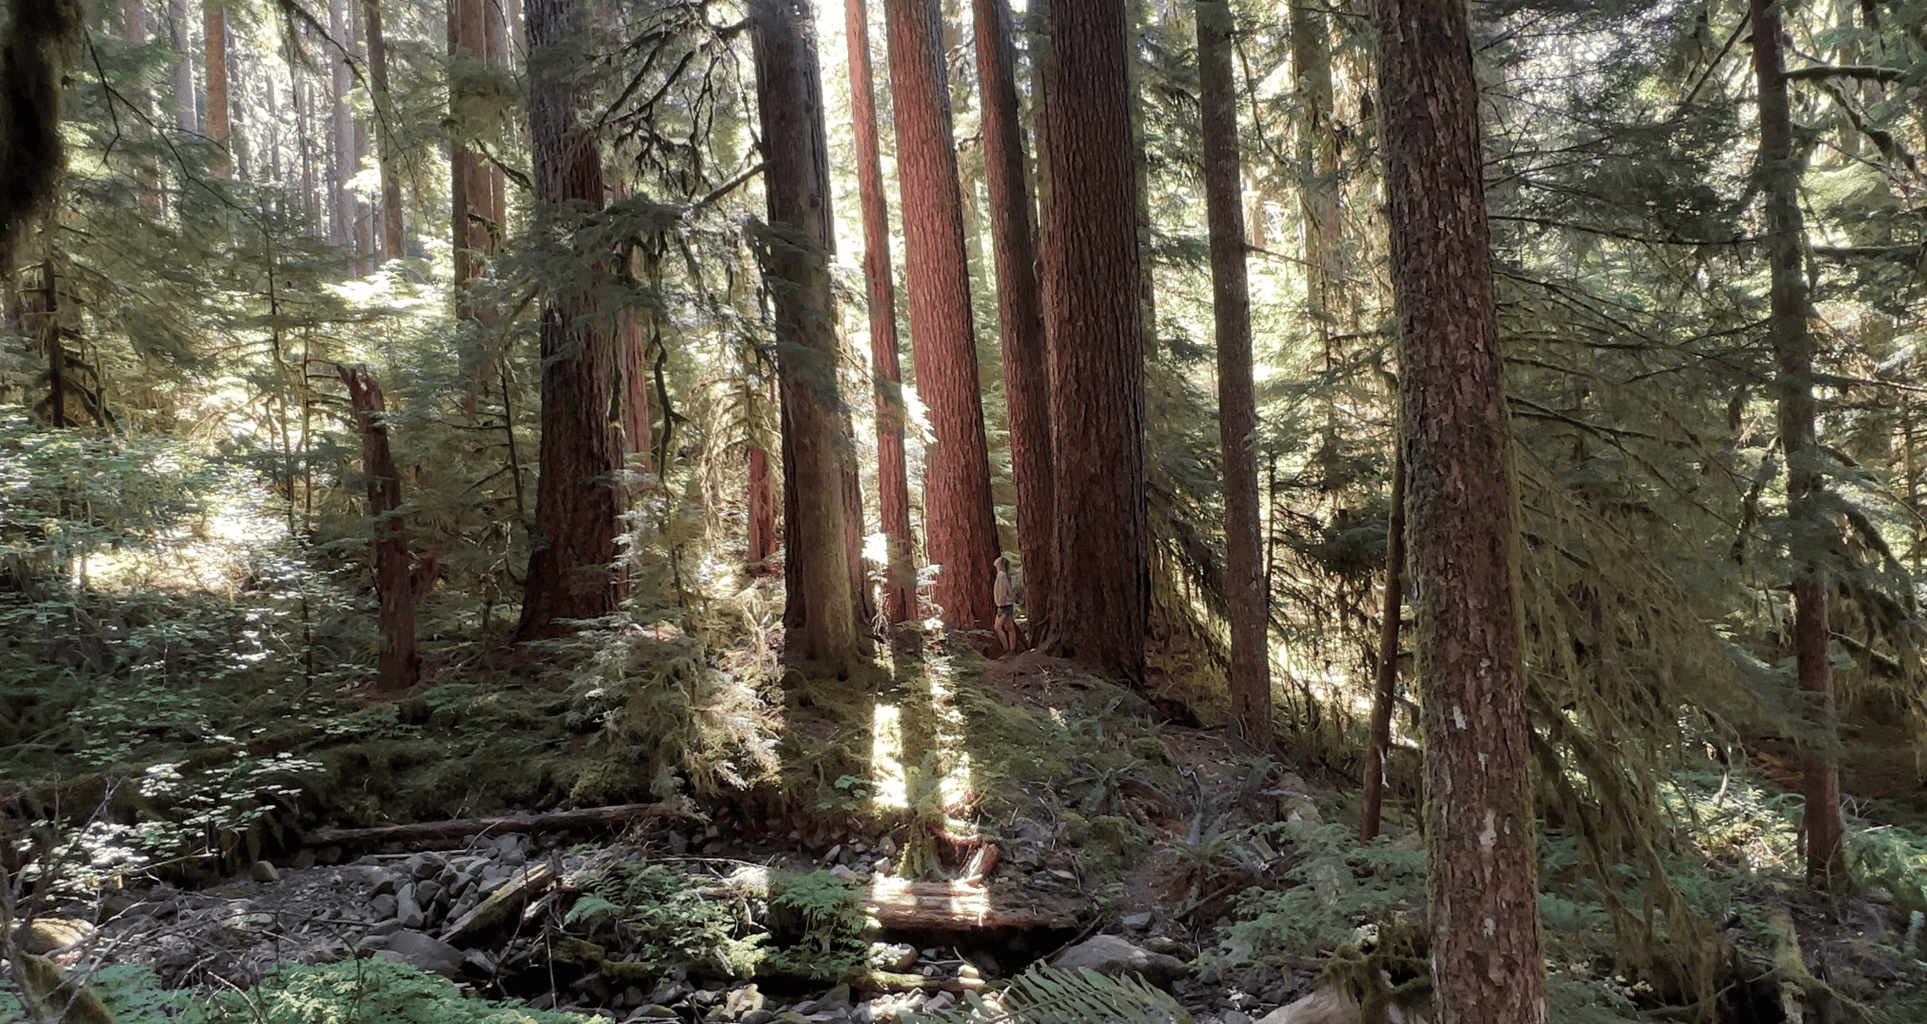
After a little coffee and breakfast, I headed out for the Hoh Rainforest to really get a feel for the lush density of the fairytale-esque flora — deciduous and coniferous trees, ferns, lichens, and moss — around this part of Washington. Up to 12’ of rain falls here annually!
There are a few trails that wind through the rainforest from the Visitor Center, like the Mini Trail, Hall of Mosses, Spruce Trail, and Hoh River Trail. I took the 17-mile Hoh River Trail that actually leads out to a glacier (but you’ll need a permit for that). Hike the whole way or just amble a few miles in.
It was hot and muggy during my trip, so I’m sure spring and fall are better times to hike. I could see the effects of climate change during my short visit to the Hoh Rainforest and realized how even short droughts can destroy the lichen and moss populations that are so unique to the area.
Tranquil Ruby Beach
Next, I explored Ruby Beach on the Pacific Coast. It’s loaded with driftwood, stacked up over centuries, giving it such a dramatic and delightfully different appearance.
Skies were clear when I arrived, but clouds rolled in quickly and heavy mists arrived in a matter of minutes. Keep an eye on the forecast if you’re checking out the beaches!
Lake Quinault Stroll
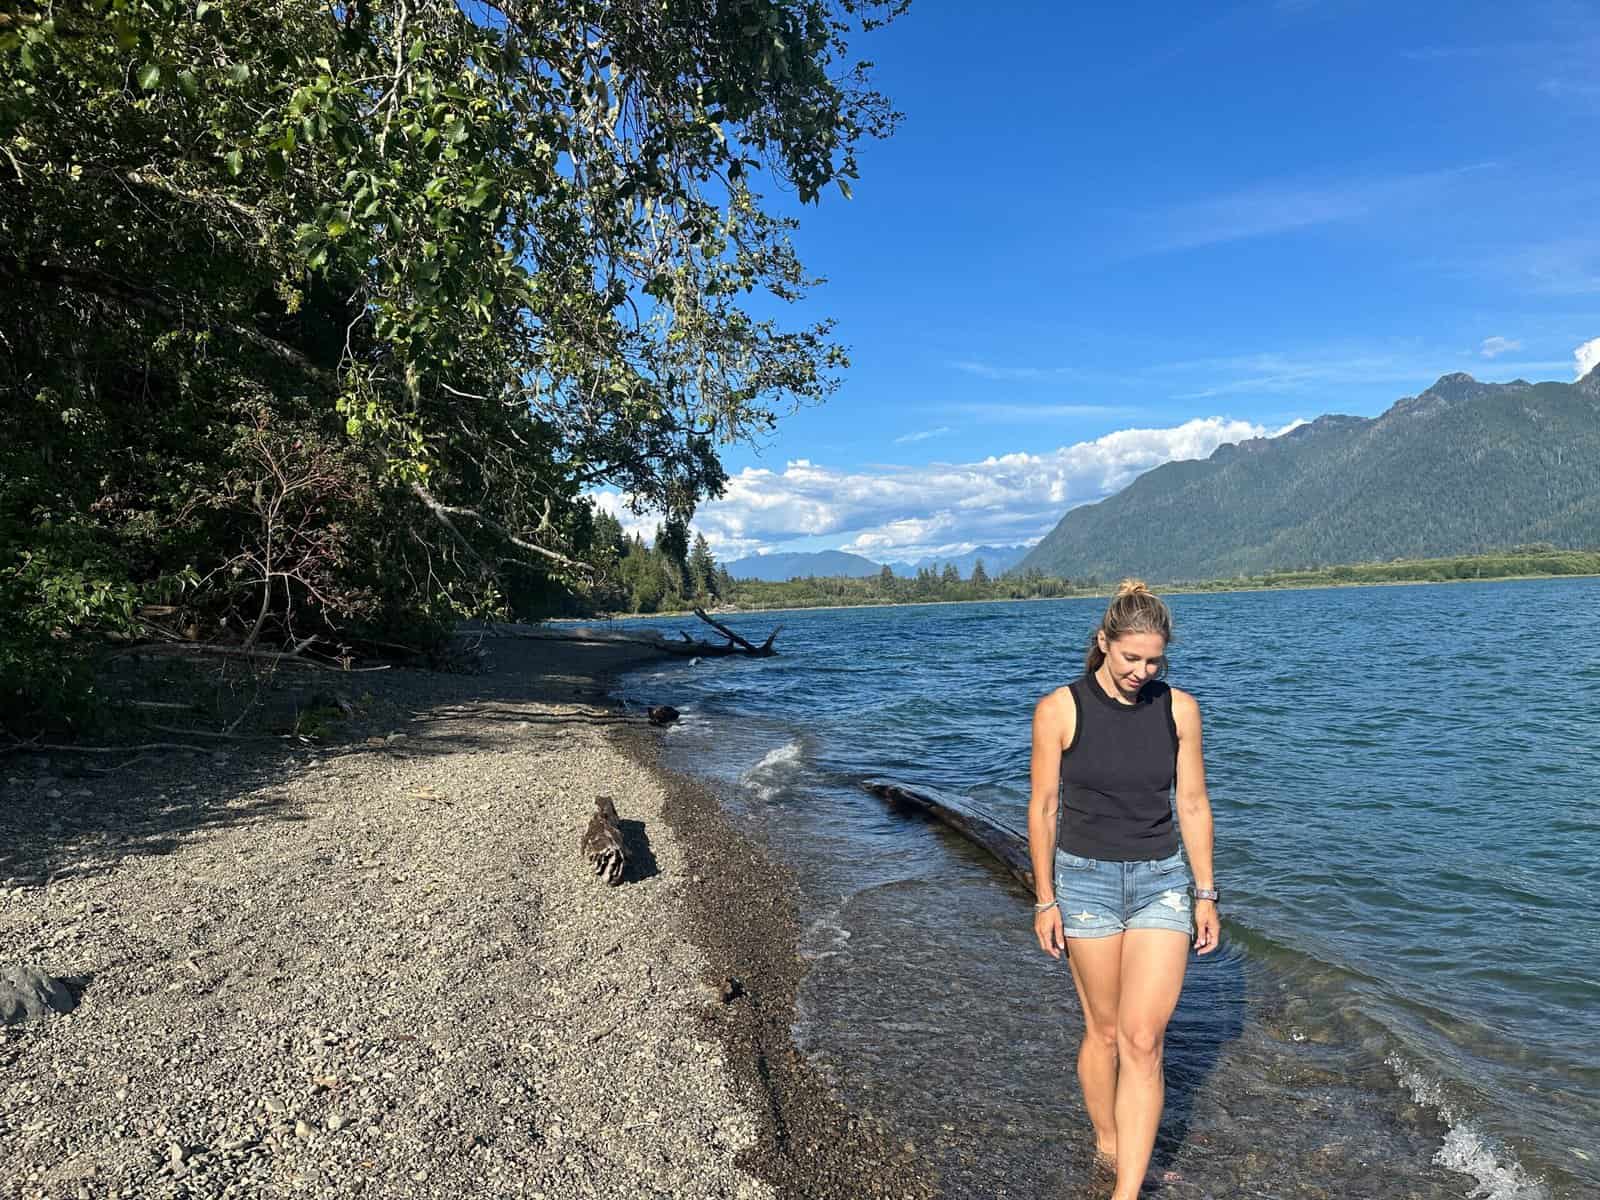
My final stop for this 4-day solo adventure was along the shores of the less-crowded Lake Quinault, where majestic mountains rise around you and waves crash on the shore. I spent a few hours soaking up the sunshine and wandering the lake’s edge in this tranquil, beautiful area.
If you’d like to prolong your trip, you can stay at Quinault Lodge and keep the fun going. But for me, this 4-day itinerary of scenery, adventure, and rugged wilderness came to a close and it was time to head home with new memories made and experiences checked off my list.
Start Exploring With Your Itinerary for Olympic National Park
Don’t just come to the peninsula for Olympic National Park — it’s everything you’re hoping for and more, but the entire Olympic Peninsula is worth exploring with the Pacific coastline, waterfalls, rainforest, mountains, and alpine meadows.
It’s worth a visit whether you’ve got just enough time for a 4-day itinerary for Olympic National Park or 2 weeks+ to dedicate to venturing deep into the rainforests, hitting the beaches, and summiting rugged mountain peaks. Whatever you do, remember — never stop exploring!
Want to explore more mountains in America’s best national parks? Check out 10 Rocky Mountain National Park Attractions You Can’t Miss and How to Plan the Perfect Trip to The Great Smoky Mountains National Park next!





0 Comments